Getting Started
Introduction
Aiseesoft Filmai is the best video enhancement software. It supports all popular or unpopular video formats, including MP4, MOV, MKV, AVI, etc. With it, you can easily enhance your videos to sharper, clearer, smoother ones. It also enables you to upscale videos up to 2×, 4×, and 8× resolution without losing quality. And if your video isn’t smooth because of lost frames, it also helps you interpolate frames with AI technology to get a smooth and fluent video. For old videos with too much image noise, Filmai can denoise them and offer a clear visual effect. If your videos are black and white, you can also try this tool to colorize your videos to a more vivid and colorful state. So, how to use this great tool to do these things? Well, this page will show you how to use this powerful tool with a step-by-step guide.
Part 1. How to Upscale Videos
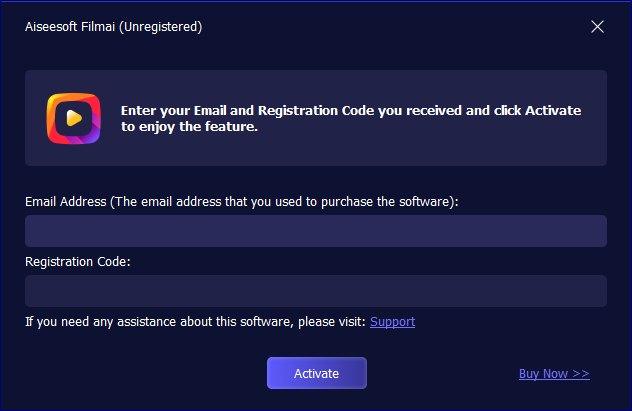
Step 1 Free download, install, and launch Aiseesoft Filmai on your computer. If you want to enjoy the full features, you can register with the email address and registration code you have received from us. After activating your account, you can start to use Filmai without limitations.
Step 2 To upscale videos, you can add your videos first and choose the Video Upscaler tool or click on the Video Upscaler section first and then click Start to choose your videos.

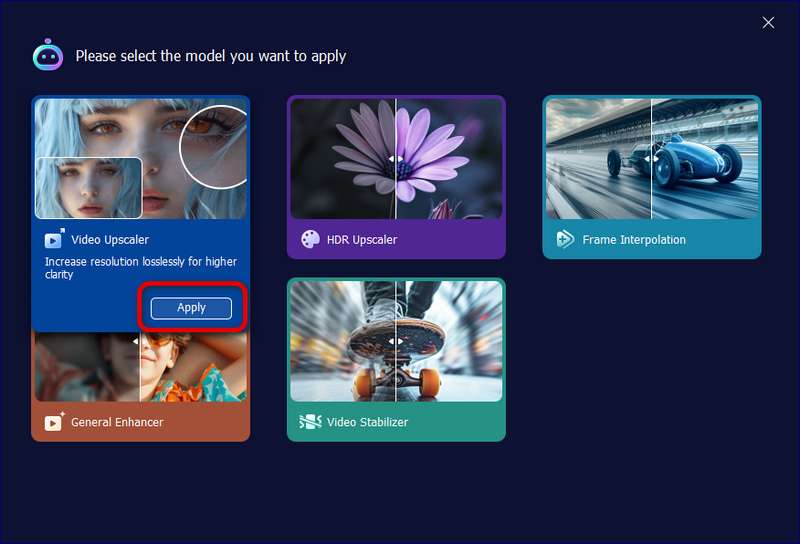
Step 3 After selecting Video Upscaler, you can click Apply to start increasing resolution for higher clarity.
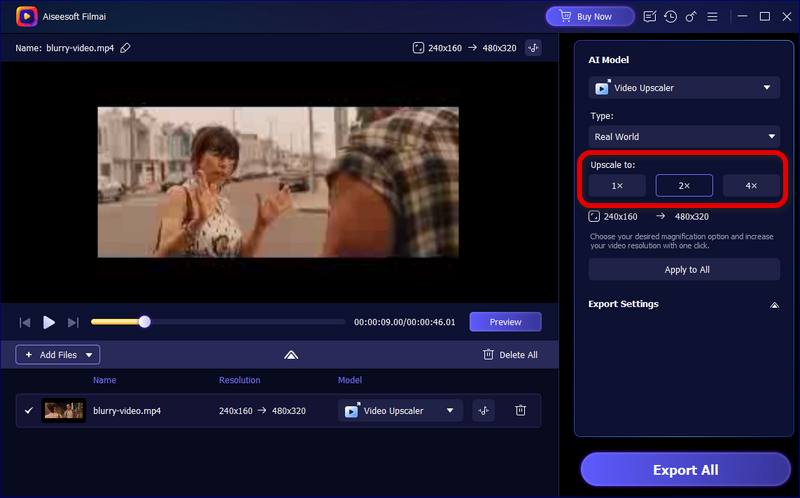
Step 4 Now, you've entered the Video Upscaler interface. If you now don’t want to upscale but want to interpolate frames to videos or colorize the videos, you can click the drop-down button of AI Model and select other modes. You can also choose the types of upscaling, including Real World and Anime effects.

Step 5 Now, you can choose the upscaling level for the video. You can choose to upscale your videos to 1×, 2×, and 4×.
Step 6 You can click Apply to All to upscale your videos without any hassle. You can also click the Preview button to preview the effect in full-screen mode or comparison mode.
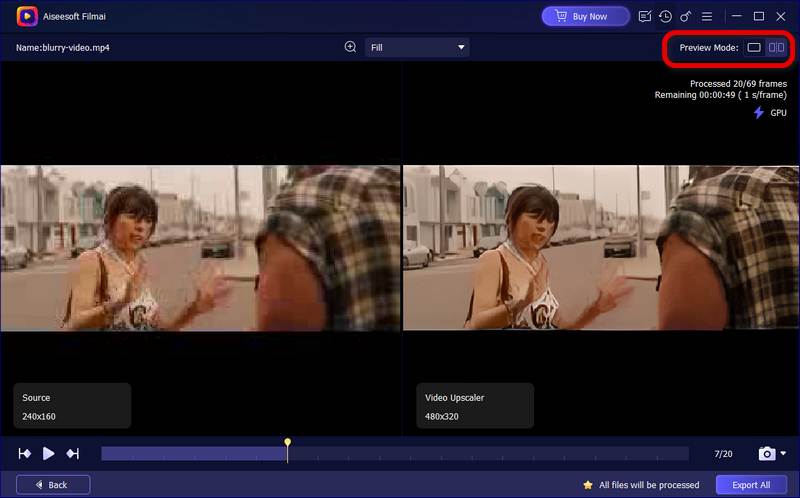
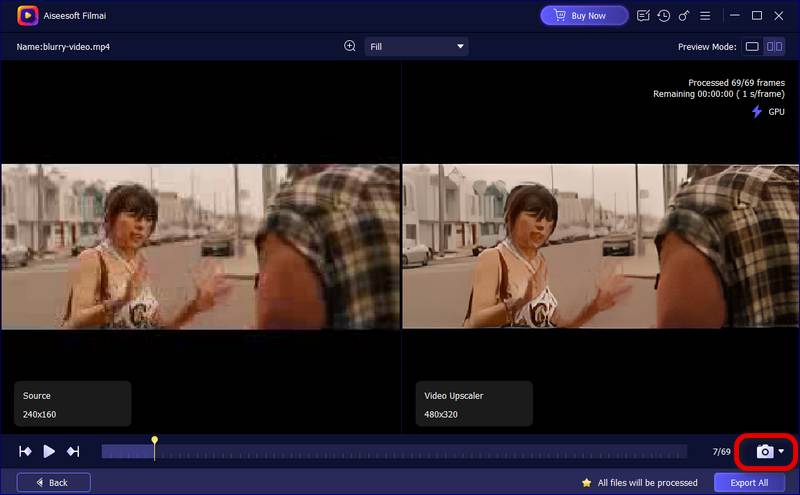
If you want to capture the screen, you can also click the camera icon at the bottom to take a snapshot of the source video or AI-enhanced video or both.
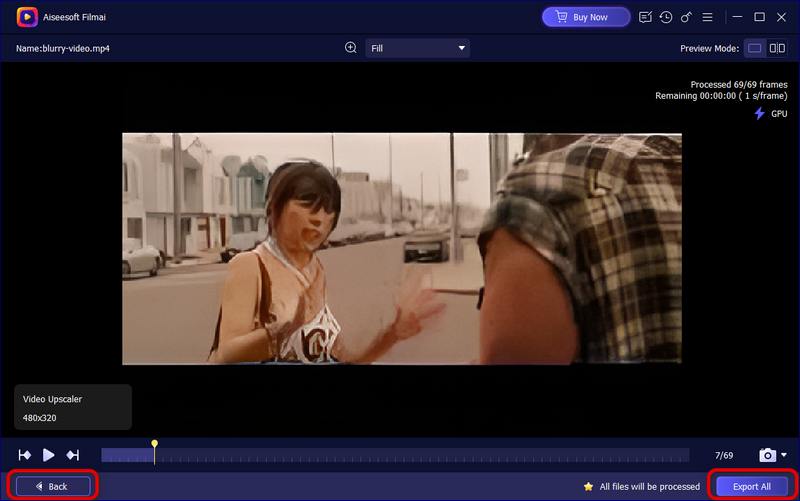
Step 7 If you are satisfied with the result, you can click Export All to get the enhanced video. If you want other adjustments like modifying the output format or more, you can click Back at the left bottom.
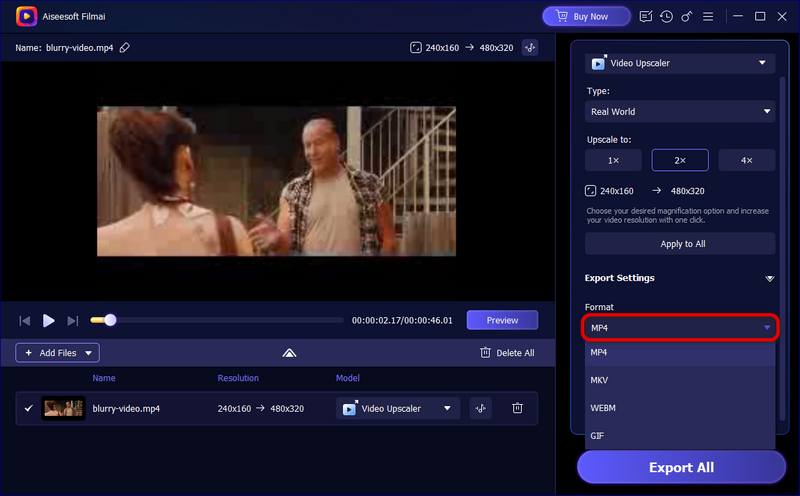
Step 8 After back to the upscaling interface, you can click the drop-down icon next to Export Settings.
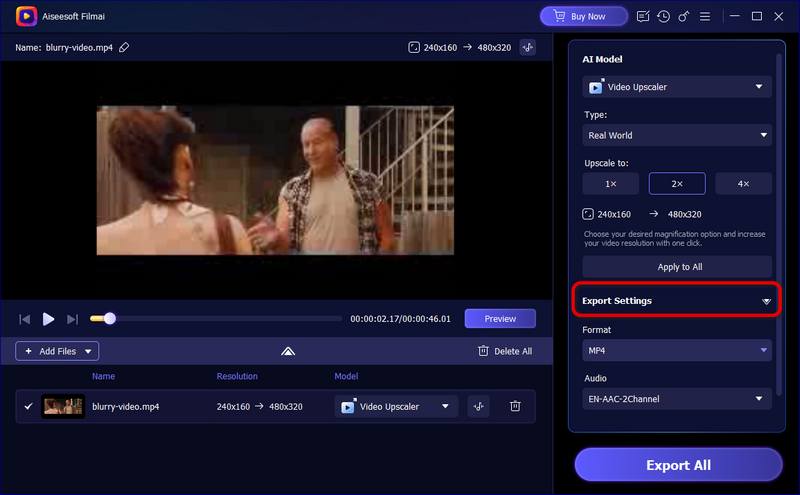
Here, you can choose the output formats, including MP4, MKV, WEBM, and GIF. If your video has an audio track and you don’t want it, you can choose to disable it.
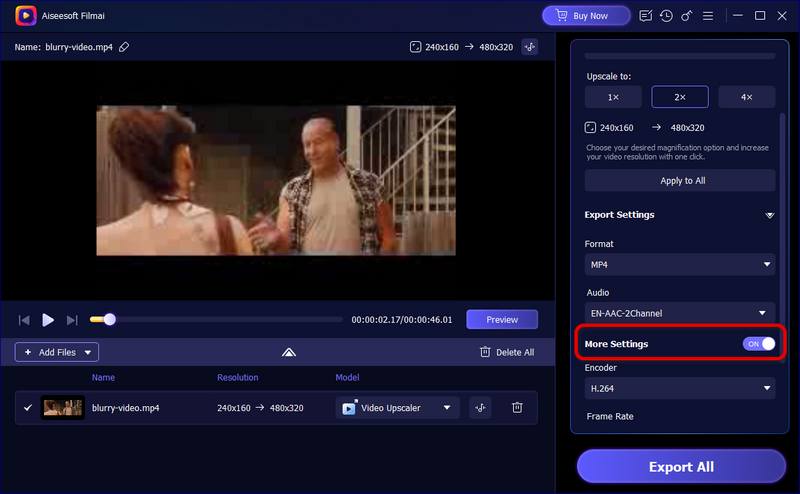
You can also enable More Settings to adjust the encoder, frame rate, and bitrate.
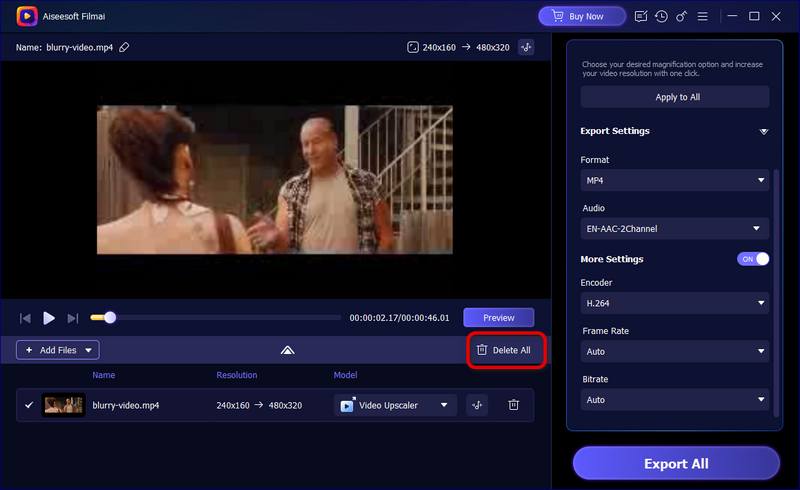
Step 9 If you are not satisfied with the result, you can click Delete All to back to the main interface.
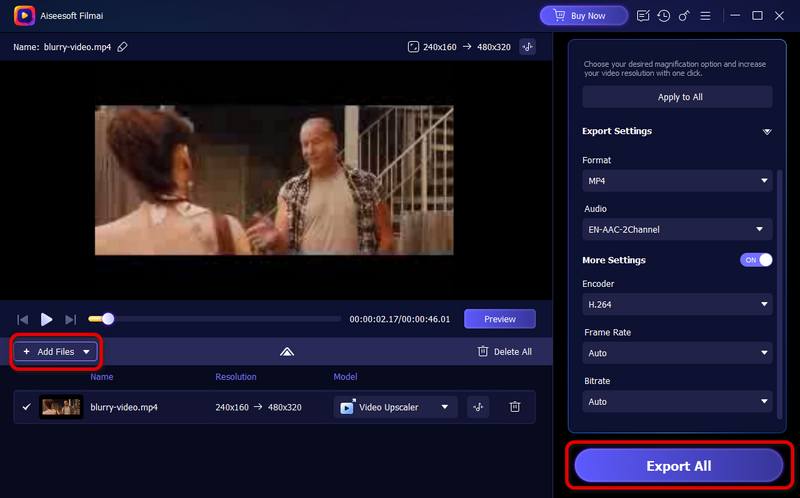
If you want to upscale other videos, you can click Add Files to add more. After processing them to a contented level, you can click Export All to start upscaling.
After upscaling videos successfully, you can share them on YouTube, Facebook, Twitter, etc.
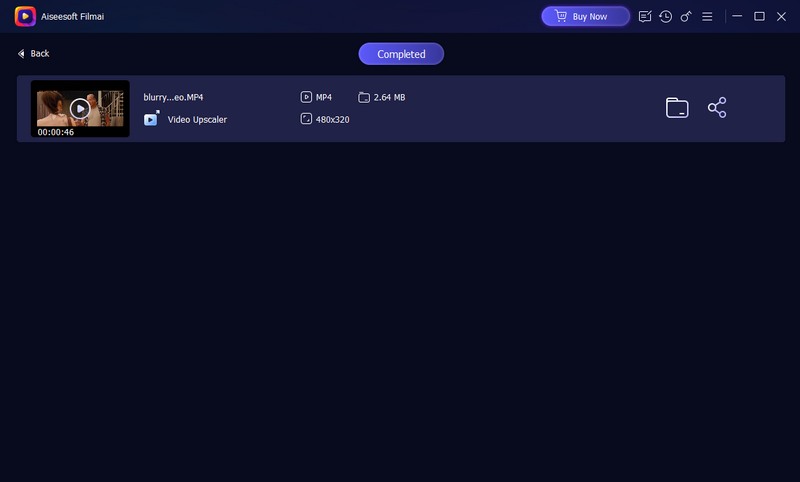
Note:
If you go back to the main interface and want to find the upscaled videos, you can click the clock icon on the right top to find the history.
Part 2. How to Adjust Preference
To get the desired result efficiently, you'd better adjust settings to what you need in advance. For that, you can find answers in Preference from the menu. Here, you can adjust general settings, and output settings, and set a task schedule.
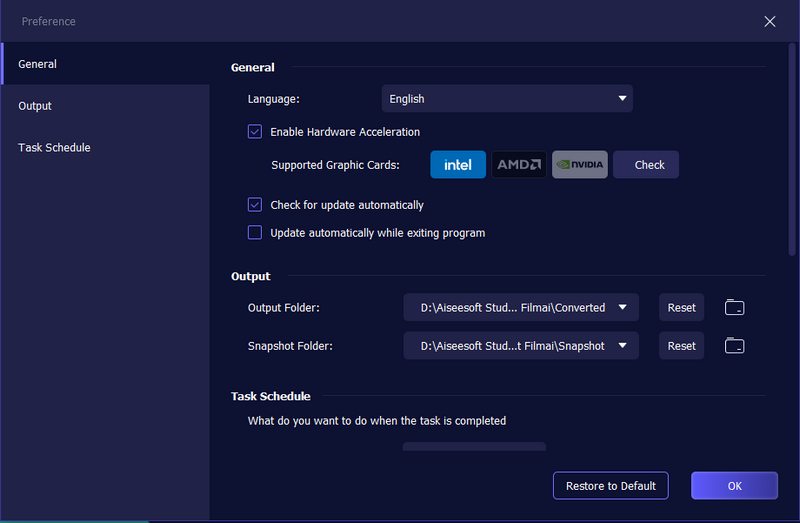
General
Click Menu to find Preferences, here you can adjust the general settings like Language, acceleration technology, and update option. You can choose from 24 languages to meet your multi-language demand.
If you want a faster processing speed, you can click Enable Hardware Acceleration and select the supported Graphic cards to speed up.
If you want to update Filmai automatically, you can check the box next to Update automatically while exiting program.
Output
In the Output panel, you can set up the default output folder and snapshot folder. You can choose the default Filmai output folder or choose to save the video in a place that is the same as the source. Or you can browse and select a new folder. You can also click the folder icon on the right to open the output folder or snapshot folder directly.
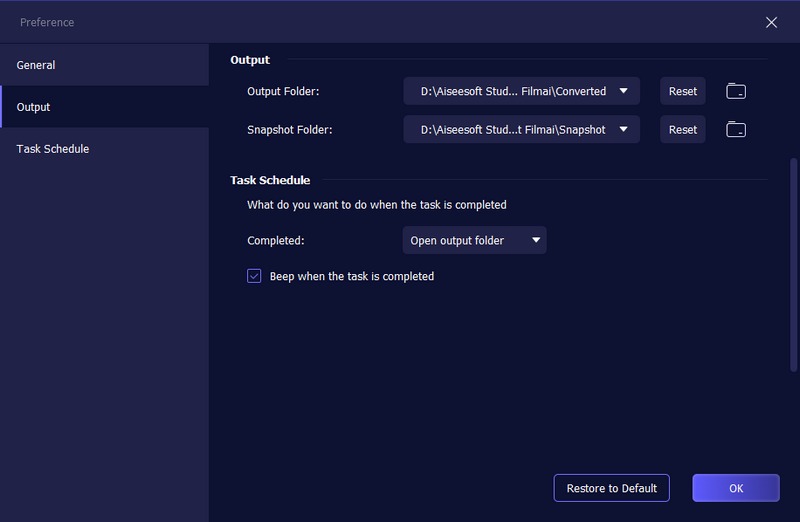
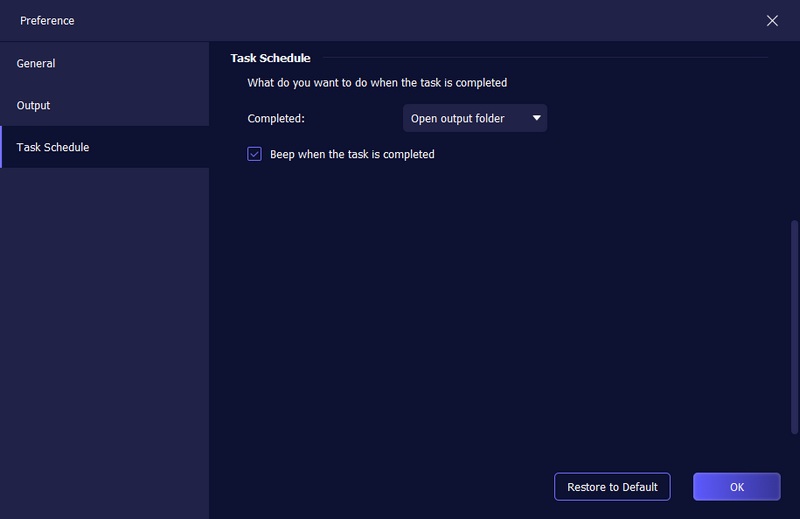
Task Schedule
The bigger the file size of your input media file, the longer the processing time will be spent. Therefore, if your video is too large, you might not be able to wait enough time before the screen. For that reason, we offer a task schedule panel, which enables the program to exit, your computer directly shut down, or sleep after the task is completed.