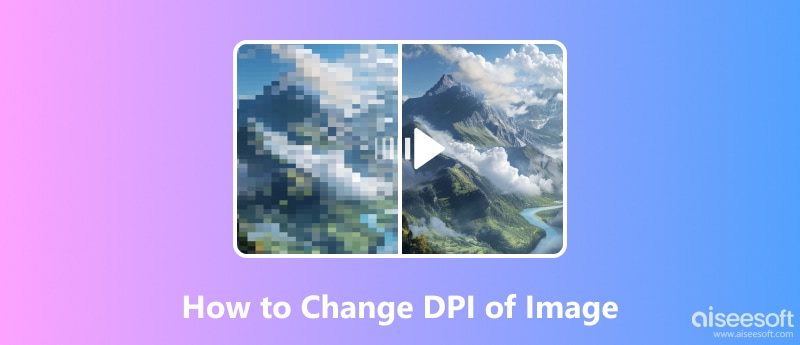
If you also do a lot of photography and work with images, you must have heard of the concept of DPI. The full name of DPI is dots-per-inch, which is a specification for the resolution of an image print. Its value is closely related to the clarity of an image. The higher the DPI value of an image, the clearer the image is and the more details it can reflect. Currently, Windows and Mac computers support you in viewing the DPI using the tools that come with your system. If you find your image is a bit blurry, try to use some tools to change the image DPI. In this article, we will introduce you to five useful tools, including an online product. Along with the description of them, we will also provide detailed steps on how to use them. With this guide in hand, you don't need to worry about not knowing how to apply anymore.
Let's start by using computer programs to change the picture DPI. In what follows, we'll cover four tools. It doesn't matter if you are a Windows or Mac user. You will find a corresponding method. Follow us and explore them together.
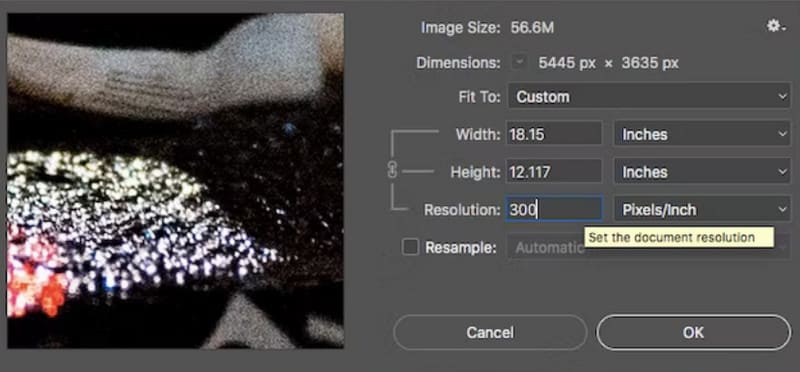
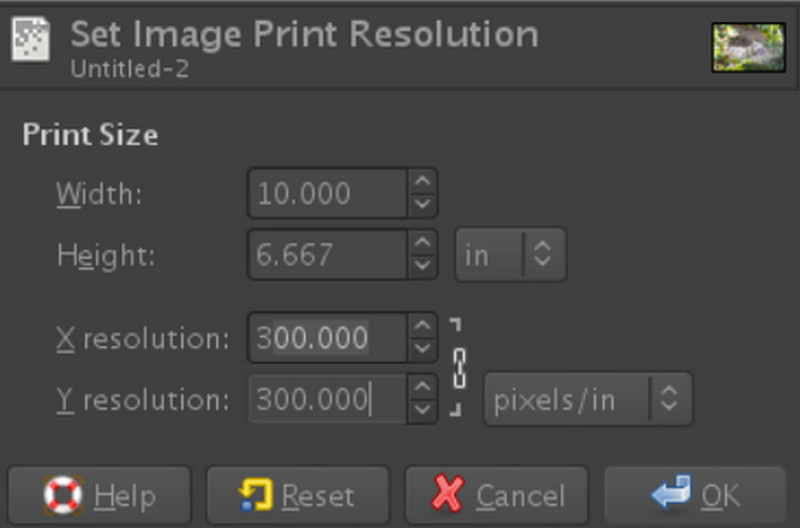
As the authority in the world of photo manipulation, Photoshop's status is unquestionable. Its professionalism and extremely wide range of features are reasons why so many content creators choose it. It's safe to say that no matter what you want to modify your images to look like, Photoshop can do it for you. Users can achieve so many image editing tricks, including cropping, resizing, adjusting colors, adding filters, etc., with the help of it. Creators also apply Photoshop to create illustrations, graphics, and logos for print. However, if you're new to Photoshop, you may need to learn how to use it ahead of time. This is because one of the more prominent drawbacks of this tool is that the interface is complex, and the steps are cumbersome. Luckily, it's relatively simple to change the DPI of an image using Photoshop. You can do this by manually adjusting the resolution, width, and height values of the image.
Here, we will show you how to adjust image DPI with this tool.
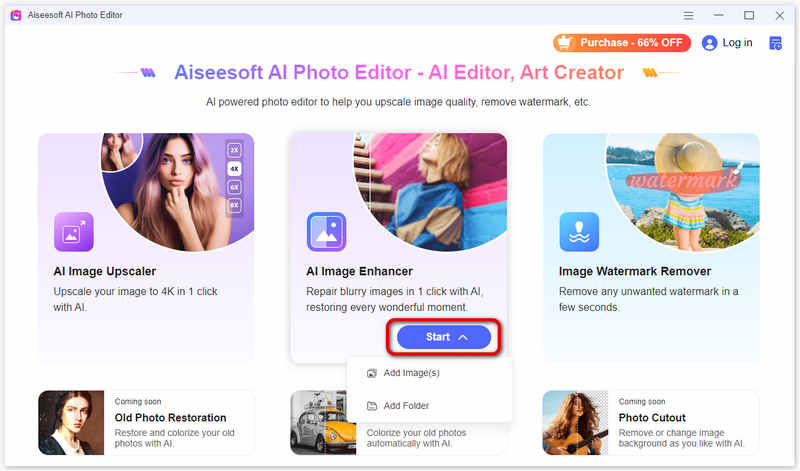
When we were introduced to Photoshop, we mentioned that it has certain requirements for users. That is, it is difficult for a novice to start using it right away. And the parameters of the image need to be set manually. If you want to adjust image DPI and avoid these problems, we recommend you try Aiseesoft AI Photo Editor. It is friendly to all users. Equipped with the most advanced AI mechanism, it will start analyzing every pixel in your images the moment you upload them and automatically fix the blurry and noisy parts. This means that we don't need to do any manual work, and we can see the edited results directly.
It also offers a comparison feature where you can drag the slider to directly feel the difference before and after raising the DPI value. You also don't need to worry about your uploaded images being leaked. Aiseesoft AI Photo Editor applies SHA-256 encryption to protect your personal information.
![]() 100% Secure. No Ads.
100% Secure. No Ads.
![]() 100% Secure. No Ads.
100% Secure. No Ads.
Here is what you need to do to use Aiseesoft AI Photo Editor.

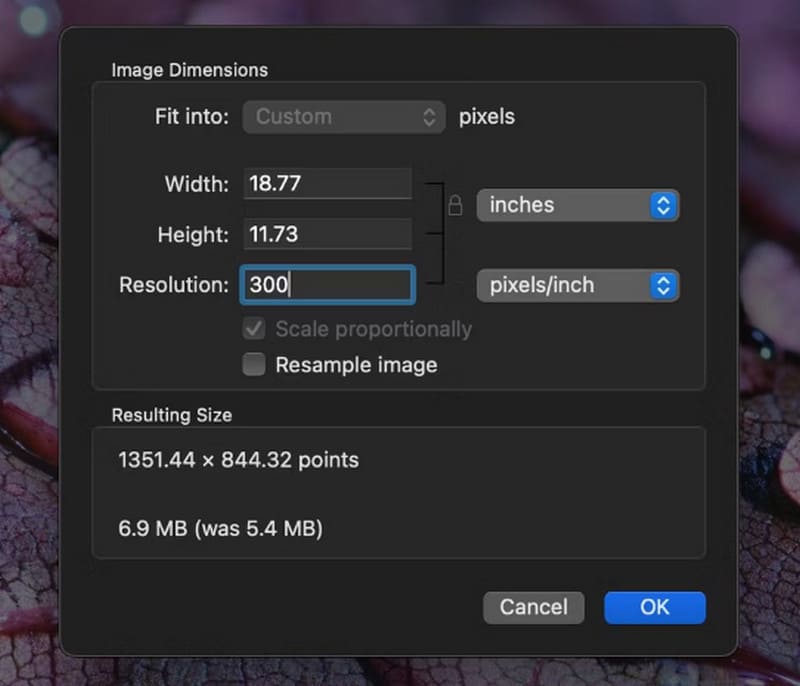
Next, we would like to recommend you a completely free photo editing tool, GIMP. The full name of it is the GNU Image Manipulation Program. As an open-source image editor, it can applied for cropping, image resizing, color correction, image composition, image authoring, and photo retouching. Features of it are similar to professional software like Photoshop. GIMP supports formats including JPEG, PNG, GIF, and TIFF. It is also quite customizable. If you want to change the DPI of your image with it, you do not need to pay for a license. Users who are looking for a free alternative to Photoshop can try GIMP.
Here, we will teach you how to use GIMP.
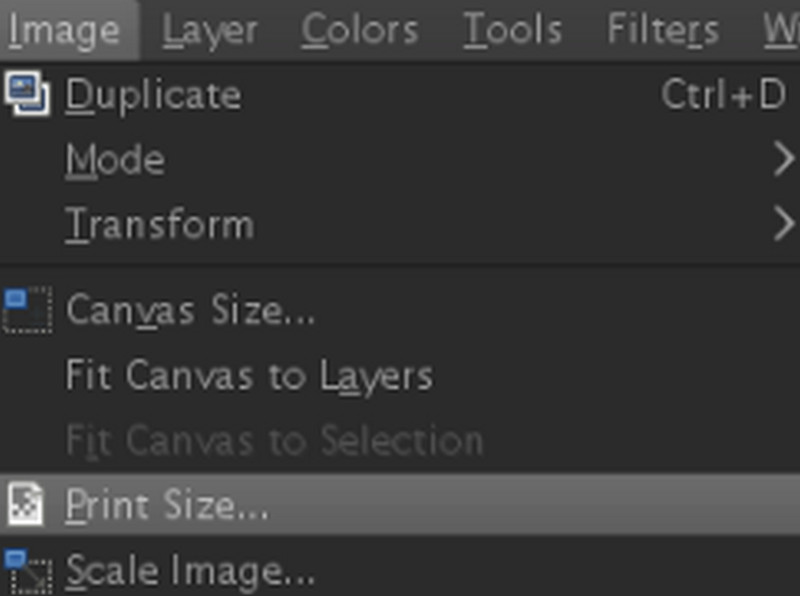
In addition to these third-party tools, if you are using a Mac computer, there is another tool that comes with the system that can be used to change the DPI of an image: Preview. It not only lets you see the current DPI of an image but also allows you to adjust its value. The good thing about this method is that you don't need to download or install any software to do it, and the steps are quite simple.
Follow the steps below to apply Preview for image editing.
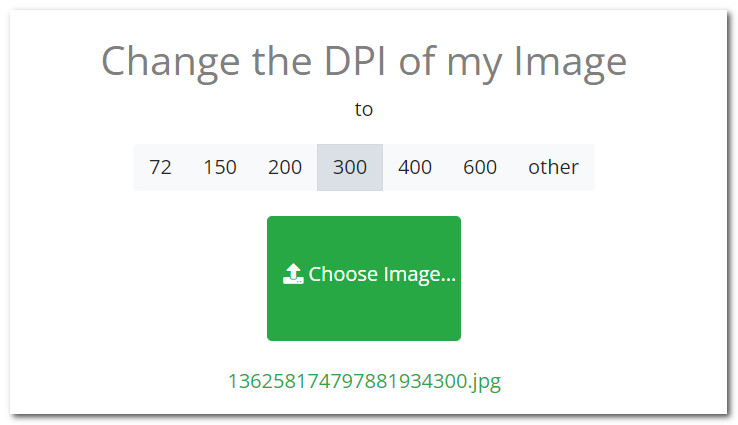
All of the above methods use the desktop side of the app to edit images. Is it possible to change the DPI and size of the image online? Of course, it is possible, and we now have an online tool to recommend to you: Convert Town DPI Converter. It is also completely free. You can directly select the target DPI value, and almost the moment you upload the image, the processed image is automatically downloaded to your computer. It's amazing how efficient it is.
Let us find out how to decrease and increase image DPI with Convert Town DPI Converter.
How do I make sure an image is 300 DPI?
To ensure that an image is 300 DPI, you need to check and adjust its resolution. If you want to change image to 300 DPI, using image editing software like Photoshop or GIMP are good choices.
Can I change 72 DPI to 300 DPI?
You can try an image editing tool like GIMP or try some online platforms like Convert Town DPI Converter.
What is the ideal DPI for printing?
The ideal DPI for printing can vary depending on the type of printing process and the viewing distance. A common standard for high-quality printed materials is a minimum of 300 DPI.
Conclusion
In this post, we have explained how to change the DPI of images on Windows and Mac computers. 4 desktop apps and an online tool are recommended. They each have their features and advantages. These tools include one of the best AI image enhancers, Aiseesoft AI Photo Editor. It not only helps you fix blurry pictures but also enlarges the size of your pictures non-destructively. This tool is your optimal choice in every way.
 [Tutorial] Quickest Way to Turn Video into GIF
This article is aim to introduce you the best way to turn video to GIF by Aiseesoft Video to GIF Converter.
 Get 7 Best Video to GIF Converters to Make GIFs from Videos
How can I turn an MP4 video into an animated GIF? Is there a free video to GIF converter? This post shares 7 best video to GIF creators, online and offline.
 Sharpen Images in Photoshop and Make Blurry Pictures Clear
Is Photoshop lossless? How do I make a blurry picture clear in Photoshop? This post tells how to sharpen a blurry image using Photoshop with detailed steps.
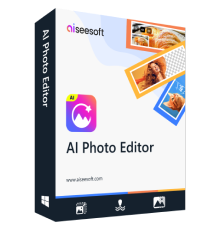
Enlarge and upscale images up to 4K in batches and remove image watermarks quickly for JPG, JPEG, BMP, PNG, etc.
![]() 100% Secure. No Ads.
100% Secure. No Ads.
![]() 100% Secure. No Ads.
100% Secure. No Ads.