No matter how empty your iPad storage is, you had better transfer hundreds of thousands of photos to an external hard drive or cloud storage for larger storage space. For instance, you can store iPad pictures to your Mac computer to organize in easy ways. Moreover, it is also a good way to backup important iPad photos and other files. No matter which reason you take, you can find the complete guide of how to transfer iPad photos from Mac computer here.

Mac iPad Photo Transfer
According to large amounts of users, this article collects top iPad photo transfer solutions. With the outstanding speed and excellent display quality, you can transfer and customize iPad photos on Mac whenever you need. As a result, you can read and choose one to complete iPad to Mac photo transferring process.
Click here to learn more info about How to Delete Photos from iPad.
In spite of iPad pictures, you can use Mac FoneTrans to transfer all iOS files on Mac. It is highly compatible with all iOS devices including the latest one. Therefore, all iPad models are supported as well. This iPad transfer software allows users to transfer not only photos, but also playlists, podcasts, contacts, movies and many other files smoothly. Furthermore, you can use Mac FoneTrans to transfer files between Apple devices directly too. Next time you need to transfer photos to iPad from iPhone or other iDevices, you should not miss FoneTrans.
You will also like reading: Recover Deleted Photos from iPad.
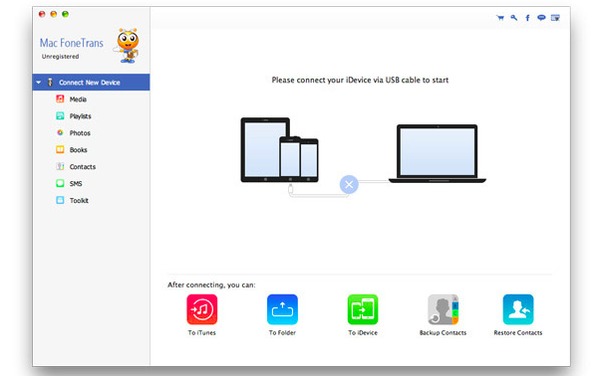
Step 1 Plug iPad into Mac FoneTrans
Free download and install iPad photo transfer software. Later, launch it and use a lightning USB cable to connect iPad to your Mac computer. You can see all available files display in categories in the left panel.
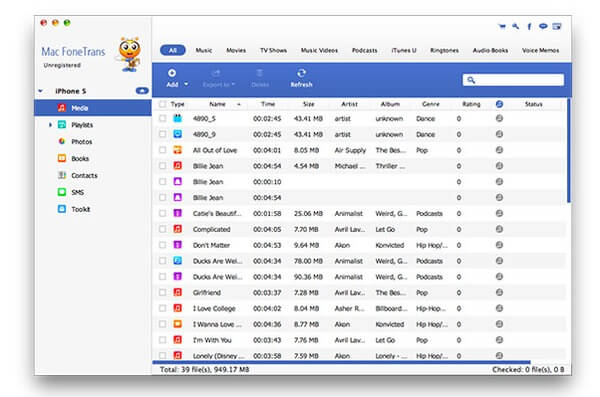
Step 2 Select iPad photos to output
Click "Add" option on the top toolbar. After that, you can choose which iPad file to export freely. What's more, compares with iTunes and other iOS transfers, Mac FoneTrans enables users to preview every photo carefully.
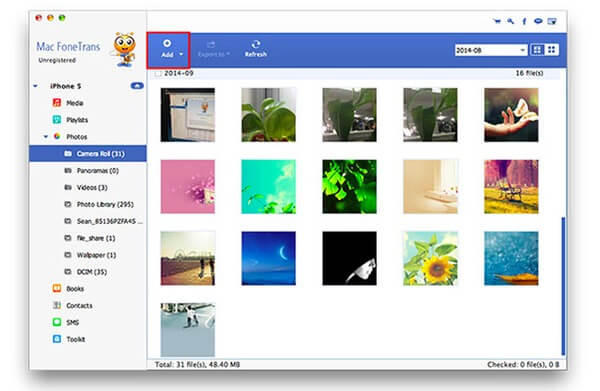
Step 3 Transfer iPad photos to Mac
Choose "Photos" to access all your iPad pictures. As a result, you can select the target iPad photos from many different folders and sub-folders like camera roll, photo library, etc. wait few seconds to transfer photos from iPad to mac selectively and safely.
iTunes is one of the most common programs for Apple users. You can use iTunes to purchase, sync, edit and do many tasks in free way. Though iTunes may take some unavoidable bad influences. For instance, iTunes may erase your original files after transferring iPad photos to Mac. And you can only sync all iPad pictures instead of newly-taken photos. But if you do not mind those mentioned cases, you can take steps below.
Step 1 Connect iPad to iTunes
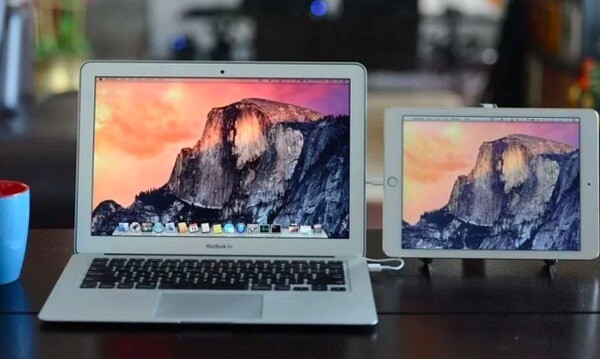
Update iTunes to the latest version first. Then plug iPad into your computer with a USB cable. You may be required to confirm the USB connection if you do not use the trusted computer.
Step 2 Access photos section in iTunes
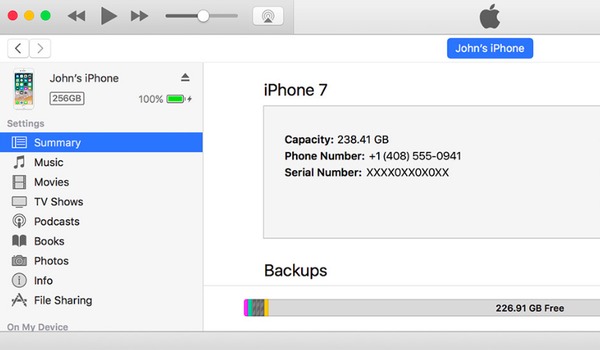
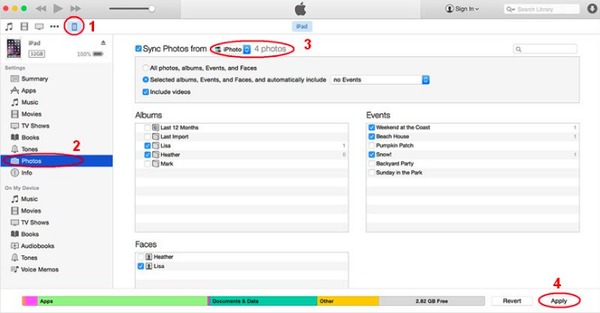
Choose your iPad icon after iTunes has detected your iOS device. Then click "Photos" tab in the left panel to locate the main interface of iPad photos.
Step 3 Transfer iPad photos to Mac with iTunes
Tick the specific options to sync iPad photos on Mac. Mark the option besides "Sync Photos from" to set the input folder. And you can choose whether to transfer iPad photos with iTunes of certain tags. Finally, click "Apply" to confirm syncing iPad photos using iTunes.
The first time you register as a member of iCloud, you can get free 5GB cloud storage. And you can enlarge iCloud storage space to different levels with reasonable prices. During this time, you can use iCloud Photo Library to transfer iPad photos to Mac wirelessly. In addition, iCloud allows users to update newly-added photos and videos among all Apple products including Mac. So you can import all photos from iPad to Mac automatically from then on.
You may also need: Recover Deleted or Lost Photos from iCloud.
Step 1 Prepare to transfer iPad photos to Mac
Connect to a strong Wi-Fi network first. Sign into your iCloud account with your Apple ID and password on iPad. You can update both your iPad and iCloud if necessary.
Step 2 Set iCloud photo transferring
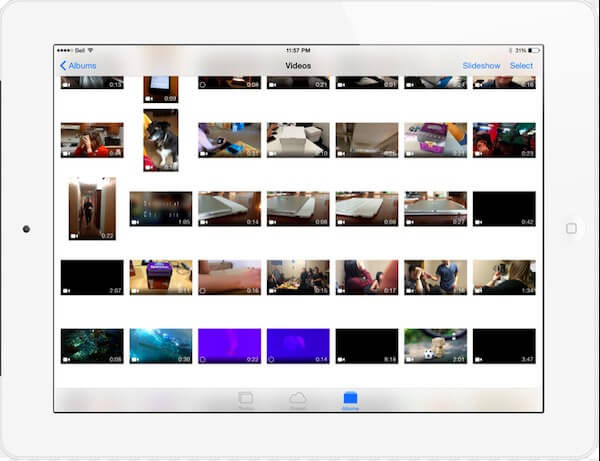
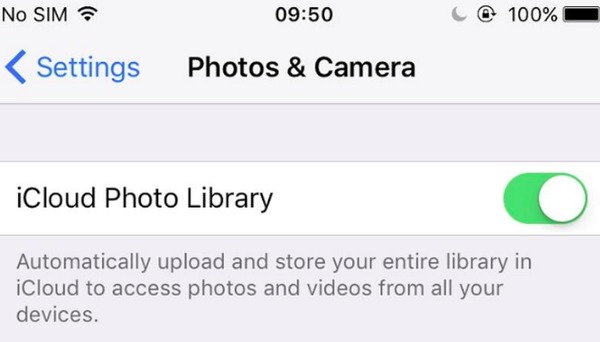
Click "Settings" app on your iPad. Choose your iCloud account to access all options about iCloud settings. Turn on "iCloud Photo Library" to store your entire photo library. And you can also trigger "My Photo Stream" to upload new photos to all iCloud devices when connected to Wi-Fi.
Step 3 Download iCloud photos on Mac
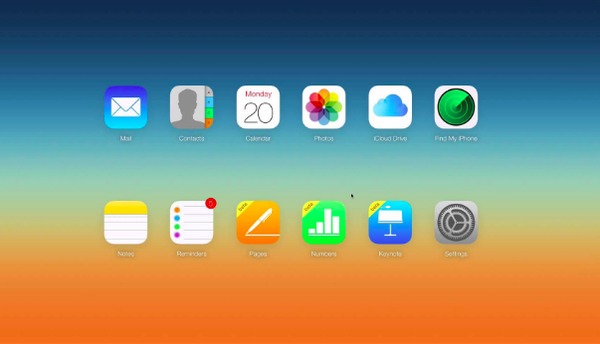
Open iCloud.com or run iCloud on your Mac computer to download all iPad photos. Well, you need to download the entire iCloud photo backup too.
From above paragraphs, you can get 3 different ways to transfer photos from iPad to Mac computer. Obviously, Mac FoneTrans does a better job than the other two iPad photo transfer programs. You are able to customize and select which photo to transfer from iPad freely. And Mac FoneTrans also works for other iOS file transferring activities. Just simply download this best iPad photo transfer to have a try.