This article gives a detailed guide to iPhoto merge libraries. You should know that iPhoto is no longer actively supported by Apple. Even it may still exist in some old Macs with an old version like macOS Catalina or earlier. However, since the macOS Catalina 10.15, iPhoto has been replaced by the Apple Photos app. You can learn three effective methods to merge iPhoto (Photos) libraries on your Mac.
When you want to combine two or multiple iPhoto libraries on your Mac, you can choose to export them from iPhoto and then copy them to one same library. Before the libraries merge, you’d better create a full backup of your iPhoto libraries using an external hard drive.
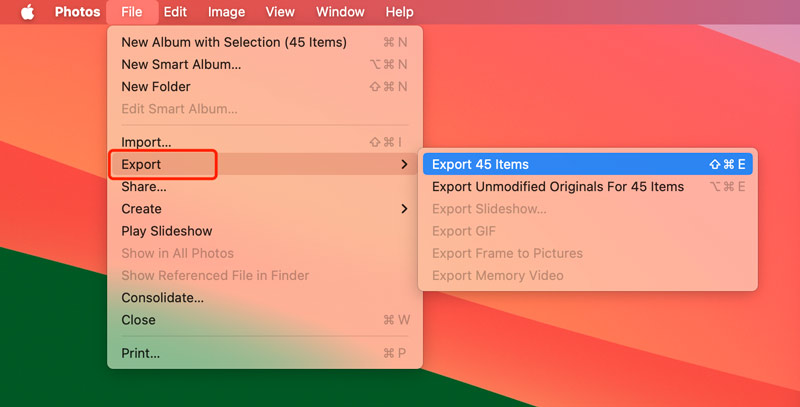
Create a new folder to store all the merged iPhoto libraries. Open iPhoto and go to the first library you want to merge. If you want to import all photos from this library, you can press Command + A to select all files. Alternatively, you can open the specific folders or albums and choose the desired pictures. Click the File menu and use the Export option to copy them to the destination folder. Now, you can take similar steps to export pictures from the other library.
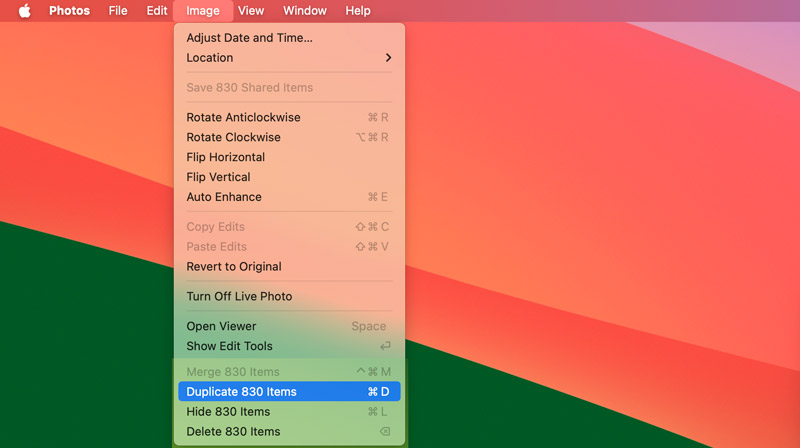
Once all iPhoto libraries are merged, you should take some time to review the imported photos. You can adjust the organization by creating albums, adding tags, or applying edits. For these duplicates, you can rely on the built-in duplicate detection tool in the Photos app to quickly identify and remove them.
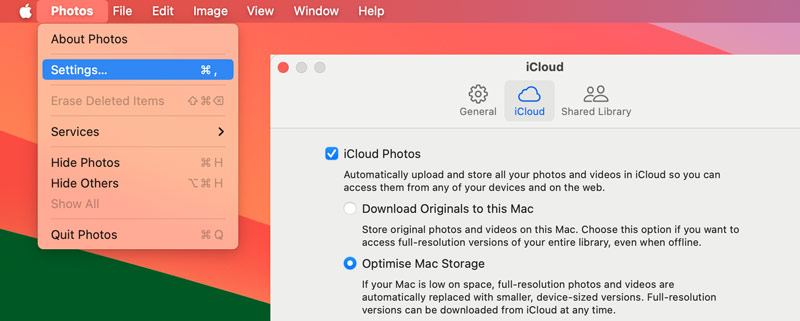
iCloud Photos provides a convenient way to merge iPhoto libraries on a Mac. Moreover, it can streamline the process of eliminating duplicate photos.
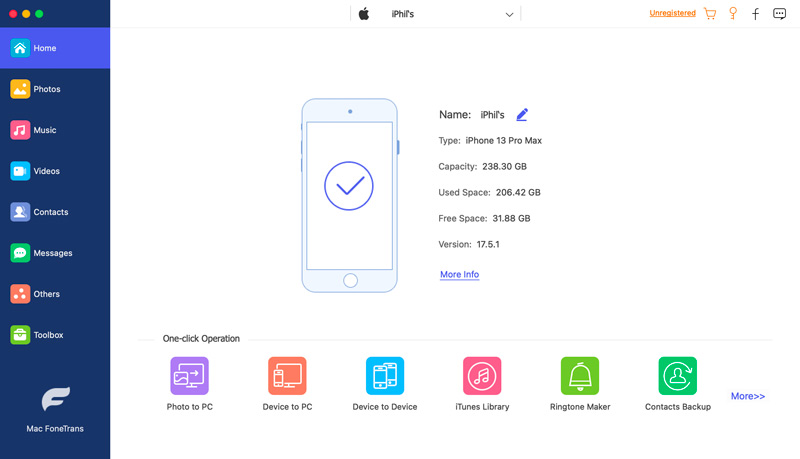
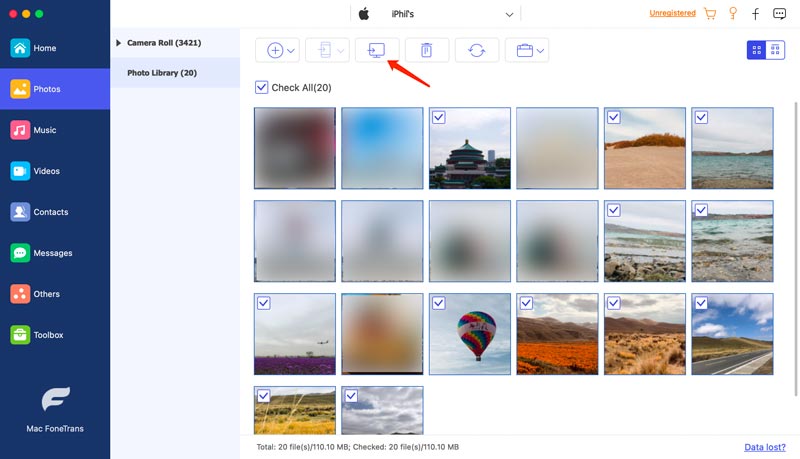
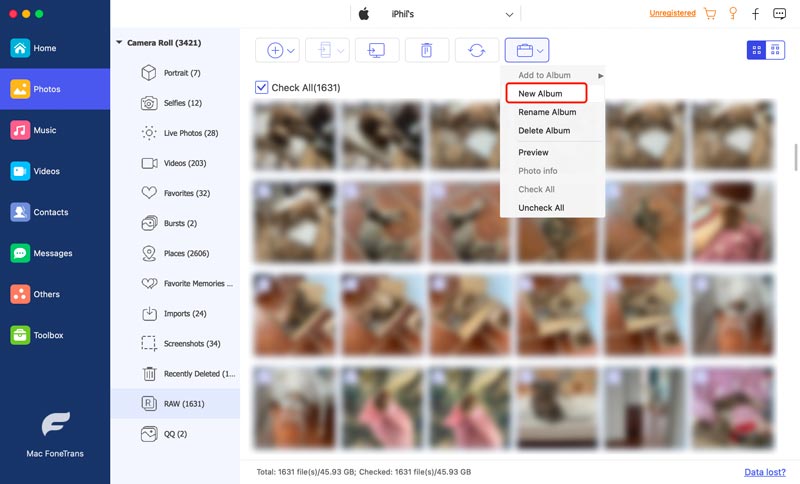
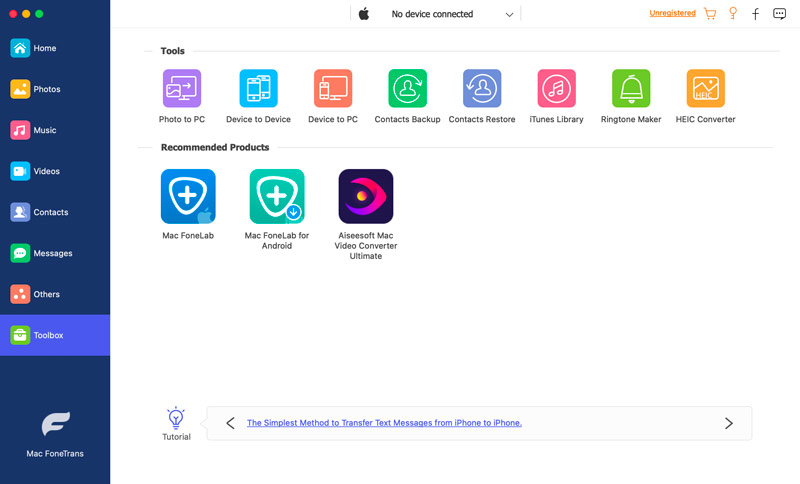
To easily manage various photo libraries on your iPhone, iPad, and Mac, you can try using the famous Aiseesoft Mac FoneTrans. It offers a simple and straightforward way to back up or transfer all types of iOS data, including photos, videos, music, contacts, messages, and others.
![]() 100% Secure. No Ads.
100% Secure. No Ads.
![]() 100% Secure. No Ads.
100% Secure. No Ads.
How do I import Photos from one photo library to another?
When you want to import photos from one photo library to another on a Mac, you can press and hold down the Option key and click the Photos button in your Dock. If the Photos app is already open, close it first. In the pop-up Choose Library dialog, select the specific library you want to import photos into, and then click the Choose Library button. Click the File menu and choose Import. Go to the target library location and select the Photos library file. Click Review for Import and select a preferred way to import. You are allowed to import the entire library or selected photos.
How do I merge iPhoto libraries and delete duplicates?
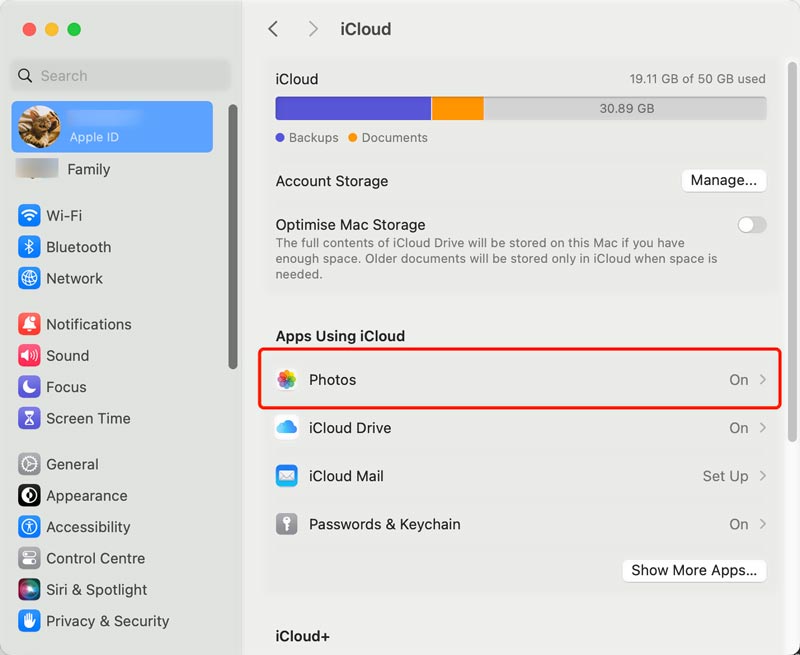
As I mentioned above, iPhoto is no longer actively supported by Apple, and all its functions are migrated to the Photos app. To directly merge iPhoto libraries and delete duplicates within Photos, you can rely on iCloud Photos. After you enable iCloud Photos for each library individually, all these image files will be backed up to the cloud service. iCloud will then automatically analyze and potentially merge duplicate photos.
Can you have two iPhoto libraries on one computer?
Yes, you are allowed to have two iPhoto libraries on one Mac computer. You can create new libraries within the Photos app. Moreover, you can easily switch between them and manage all types of images.
Conclusion
It’s quite common that you create several separated iPhoto libraries by event, project, or time. You can use the three methods above to easily merge them into a single library. For more questions about iPhoto merge libraries, you can leave me a message.
 Figure Out iPhone Camera Roll, Photo Library, and Photos
What is Photo Stream on iPhone? Is Camera Roll the same as Photos? This post covers iPhone Camera Roll and the difference between Camera Roll and Photo Library.
 3 Easy Ways to Transfer iPod Photos to Your Computer
Read and get 3 easy solutions to transfer photos from iPod to computer. Furthermore, you can edit and manage iPod photos in easy ways too.
 Top 7 Simplest Methods on How to Transfer Photos from iPhone to Mac
Here are 7 easy ways you can learn to transfer photos from iPhone to Mac. And you can get an all-in-one iPhone photo transfer software to solve the problem in a short time.

The best iOS Transfer software to manage and transfer iOS files from iPhone/iPad/iPod to your computer or reversely without running iTunes.
![]() 100% Secure. No Ads.
100% Secure. No Ads.
![]() 100% Secure. No Ads.
100% Secure. No Ads.
*Required field
*Please enter a valid email