In Minecraft, RAM allocation is essential if you want to make your gaming experience better. Random access memory is long-term for RAM, which your computer uses to store temporary data while playing games such as Minecraft. Insufficient RAM can lead to Minecraft slowdown - whether it's your device or the gameplay. Fortunately, you can use a few tips to increase the volume of your RAM by allocating it so that the game will run smoother and experience no more crashes again. Now that you are reading this article, we will give you helpful information, such as how to allocate more ram to Minecraft.
Remember that the tutorial below only works for Minecraft: Java Edition and not for Minecraft: Bedrock Edition. So now, if you want to know how to give Minecraft more ram, proceed by reading the info below.
Let's start the tutorial with the help of the default launcher you downloaded with the game. So, if you don't know how to do it, you can follow the steps below as we take you through the process more simpler.
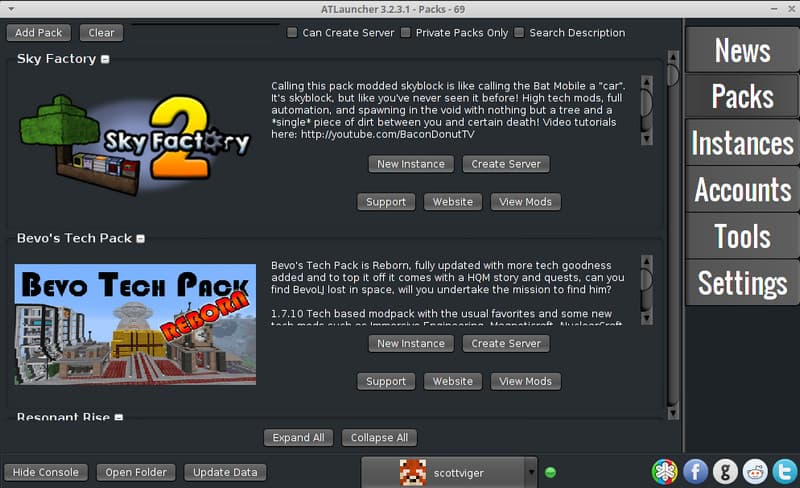
One of the most used launchers on Minecraft is the AT Launcher; through this app, you can allocate more RAM on Minecraft. If you are using this launcher, then follow the tutorial below.
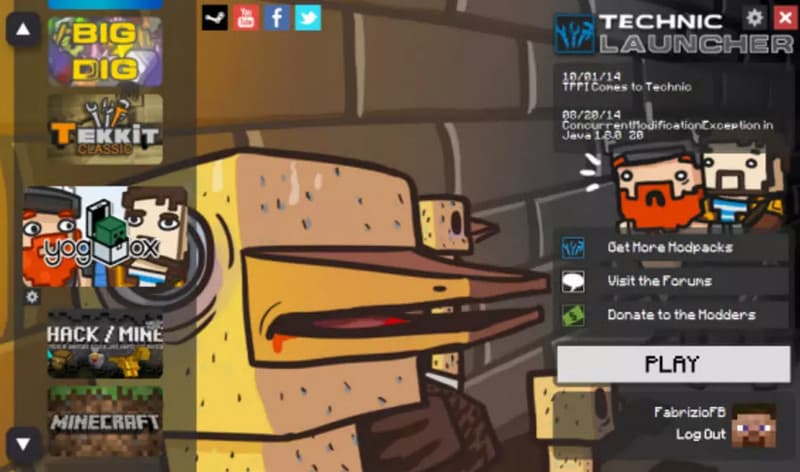
Besides ATLauncher, you can also use the Technic Launcher when you need Minecraft to allocate more RAM. As simple as it is, the app is built differently from other launchers, and you can easily do the allocating method by following the steps accordingly. If you are ready to go, follow the tutorial below.
RAM allocation assigns the amount of physical data through the computer memory while the computer program runs on the system, whether reserved in partial or complete. Since it is a volatile memory that needs the power to maintain the information, its size is limited, and it can't store multimedia files other than data. Without enough RAM, anyone playing games will have an FPS drop that could result in poor PC performance.
Moreover, the people who don't like to encounter poor performance, such as in gaming over time, have tried to allocate the RAM more to maximize its power of it. Some adjust it to prevent crashes and the drop in frame rate. However, improper uses of RAM allocation can lead to disaster, especially when running 100%, so you must avoid that. Whether you need it or not, understanding RAM allocation's main target is excellent stored knowledge for gamers and computer enthusiasts.
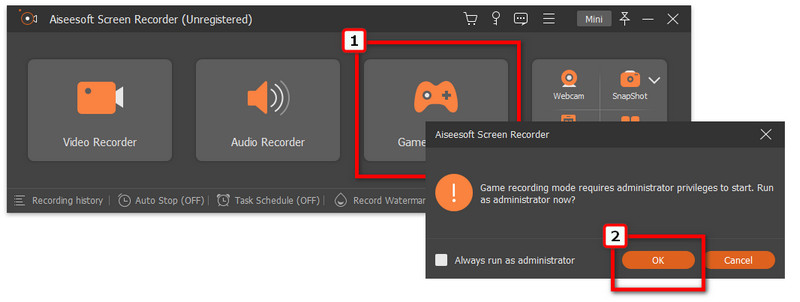
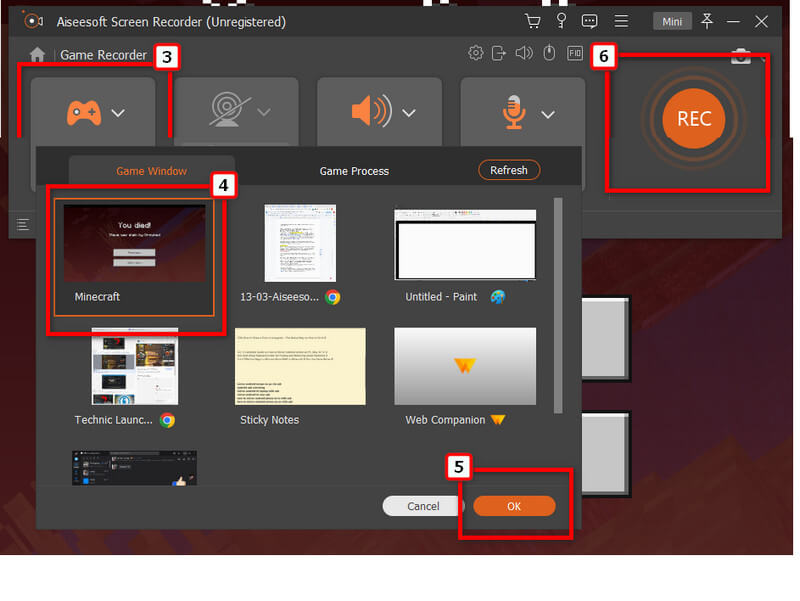
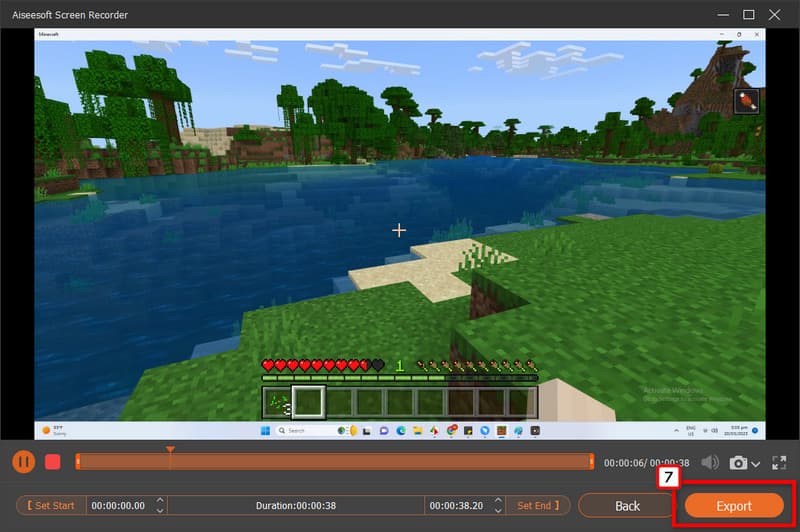
Now that you have finished allocating more RAM to Minecraft, you may start playing the sandbox game, and it would be better if you record it while playing. To do that, you can easily use the Aiseesoft Screen Recorder - Game Recorder. This program gives you a better experience of automatically recording your game highlights when you use it. You can record it non-stop with your screen, voice, system sound, and webcam if you have one. And without a doubt, the app is the best Minecraft screen recorder to download and use on your PC. If you want to know how it works, follow the tutorial below.
![]() 100% Secure. No Ads.
100% Secure. No Ads.
![]() 100% Secure. No Ads.
100% Secure. No Ads.
How much RAM should I allocate to Minecraft?
For Minecraft, you will need at least 2GB or higher if you go any lower than that, then you will see that the game will continuously crash every time you use it.
Can you free up RAM on Mac?
That is possible if you have a tool to do so. If you aren't sure what makes your RAM run slower, you can visit the Activity Monitor to see which program eats a lot of memory. But to free up RAM on Mac, you must use the best macOS cleaner to solve that problem.
Do I need to have a higher RAM?
This case will depend on your workload needs. If you only deal with casual internet browsing, an 8GB will do. Multiple office programs should have a higher RAM, like 16GB. But for gamers with high processing and editors, 32GB RAM will do the trick.
Conclusion
How to allocate more RAM on Minecraft is an easy and doable task, even if you are new. Following the tutorial we have added will guarantee you make your Minecraft gaming run smoother.
 All about Minecraft - Free Download or Record Minecraft
How to free download Minecraft for PC/Mac or Minecraft pocket edition? How to record Minecraft? This article gives you all solutions to Minecraft.
 Review of the 8 Minecraft Houses to Build for Defend on Zombies
Minecraft houses are the best buildings you can build in the games. You can use it to defend yourself from other enemies and zombies. Learn more here!
 Minecraft Screen Recorder - How to Record Minecraft Game Video
What is the best screen recorder for Minecraft? How to record Minecraft for uploading to YouTube? This post recommends the best Minecraft screen recorder to help you capture the interesting Minecraft game moments with high quality.

Aiseesoft Screen Recorder is the best screen recording software to capture any activity like online videos, webcam calls, game on Windows/Mac.
![]() 100% Secure. No Ads.
100% Secure. No Ads.
![]() 100% Secure. No Ads.
100% Secure. No Ads.