"How do you share your screen on the Windows store version of Skype? When I was using Windows 7 and had a desktop version, I had the ability to share screen but couldn't find it in Windows 8.1. What is the problem?" - Tia

Share Skype Screen on Windows 8
Skype is widely used through the world. With its ease and functional features, it works as a communication tool to enable users to talk for business or personal reasons. You are able to create Skype video conference for business relationship. Also you are capable of launching group video on Skype to invite your friends to have an online party.
The operation of Skype is very easy. You only need to search for www.skype.com in your browser, and download it according to your needs for your Windows, Mac, Android or iOS. Supplying instant messenger, video chat or call, desk screen sharing on Skype, etc., Skype does you a great favor. And the various Skype motions will enrich your Skype chats.
For some reasons, screen sharing on Skype becomes a trend. And the new added Skype Wi-Fi feature lets you use Skype for your needs on the go with the Wi-Fi connection. For Mac users, sharing your desktop on Skype to show more details like contacts, contacts number, etc. is also very simple.
However, for Windows users, they tend to have a problem when using Skype to share screens on Windows 8. Some of you may complain that you cannot share your screen on Skype on Windows 8. Though Windows has claimed that they do not support Windows 8 until on January 12, 2016, customers have 24 months to move to Windows 8.1 after General Availability in order to remain supported. Focusing on Skype screen sharing on Windows 8, or the later Windows 8.1, you could deal with this problem with a correct version.
Keep reading to share your Skype screen on your Windows 8.
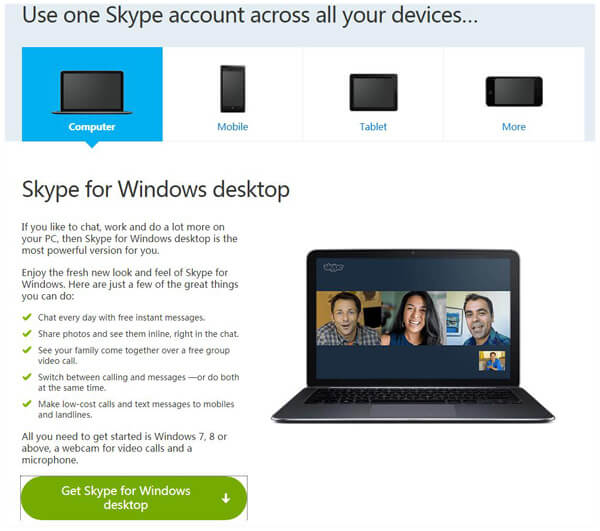
Step 1 Log in www.skype.com, and click "Download" > Choose "Computer" > "Get Skype for Windows desktop" to follow the guide to download and install Skype on your Windows 8 computer. Kindly note that you will not download from Windows 8 store, but only from "Skype for Windows Desktop".
Step 2 Sigh in with your Gmail account or Facebook account to Skype, choose one friend whom you want to share your screen to. Click "Call" to launch a video call for sharing Skype screen.
Step 3 On the bottom of the screen, you will see a "+" symbol, click it to choose "Share Screen" > Click "Start" in the pop-up window to share your screen with Brain Helper.

In this way, you could easily share your Skype screen to those that you want to share. But this screen sharing is just one time effort. If you miss some points during the screen sharing process, I am afraid that, you have to ask a second time call. If you still miss, then three, four times...
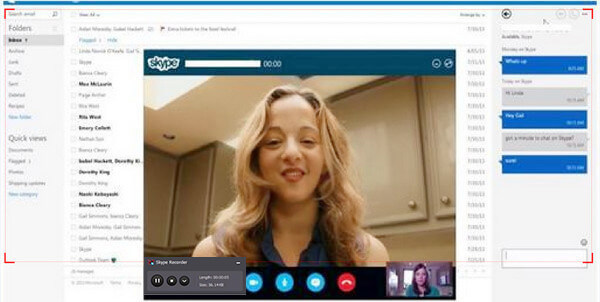
Since Skype does not provide a recorder for you to record your screen sharing process for playback, you may ask if there are other ways that will let you record the whole screen sharing process for second playing. The answer is yes. Aiseesoft Skype Recorder is one of the professional Skype screen sharing and recording tool on Windows 8. Whether you want to share Skype files or videos, or the contacts on Skype, this screen recorder will let you realize it. And it will let you record the whole desktop screen process for playback on your Windows computer 8. Firstly you need to download Screen Recorder here before you want to share your Skype screen via this program. Then follow the details below:
Step 1 Install Screen Recorder, and run this software on your Windows 8 computer.
Step 2 Choose recording area, turn on System and Microphone audio.
Step 3 Log in Skype account to open the screen on Skype that you want to share. Click "REC" to record screen.

Click the stop button to stop the screen recording. Then you are able to preview and download the Skype video chat in WMV/MP4 to your computer. After that, you could send the recorded Skype video to anyone that you want to share screen of. And you could play the recorded WMV video on your Windows 8 computer directly.
If you want to share your desktop apart from Skype screen, then you can follow the way to do it. When you use Skype Recorder to share your Skype screen or desktop on Windows 8, you will pay attention to the following points:
◆ Screen Recorder works well in your Windows 10/8/7/XP/Vista, but no Andriod, iOS or Mac version. Other best Skype recording software may give you option to share Skype screen on other platform.
◆ If you only want to share document files without any videos on Skype, then you could turn off the system audio on Screen Recorder for avoiding redundant voice from your Windows 8 computer system.
◆ If you want to record Skype video, then you had better turn off microphone audio to get rid of noise outside.
◆ Apart from recording desktop and Skype screen, you are also allowed to record Google Hangouts call.
Here we introduce two easy methods for you to share screen on Skype for Windows 10/8/7. If you get more ideas on this topic, don't hesitate to share your thoughts with us by leaving us comment.