Apple products allow you to freely capture videos with high resolution to save the special moments, to record the beautiful scenery during your trip or to memorize the venerable occasions. After shooting, iMovie can help you edit your video and make it better. What's more, iCloud offers you a great way to save the important photos, music, videos, and other files.
However, do you know how to share iMovie to iCloud?
Videos on your iOS device will turn out to be storage scarcity. And mistaken deletion or virus infection may easily take these good memories away. So you'd better sync iMovie videos to iCloud. Still don't know how to do it? Don't worry. We will show you how to sync iMoive to iCloud. Just keep reading to find what you need.

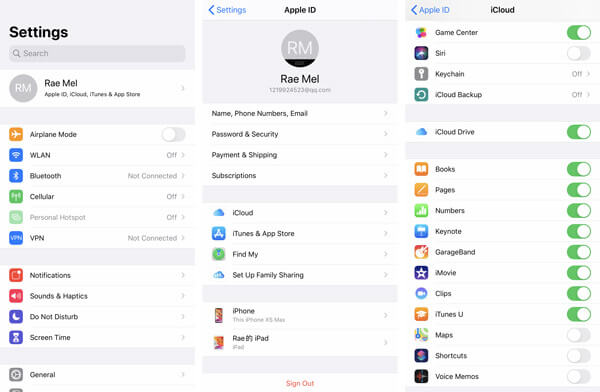
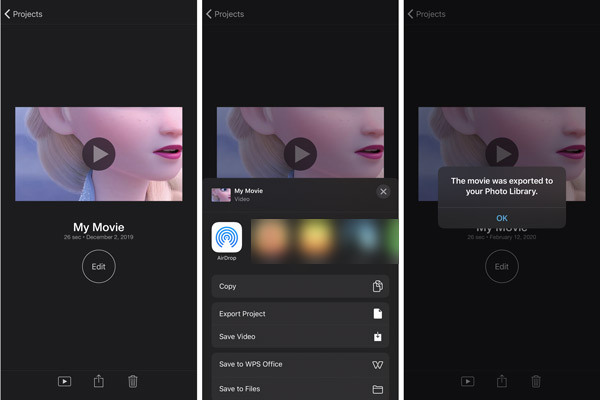
If you have iMovie app installed on your iOS device, you can directly share iMovie to iCloud on your iPhone or iPad. Take the following guide to share iMovie video to iCloud.


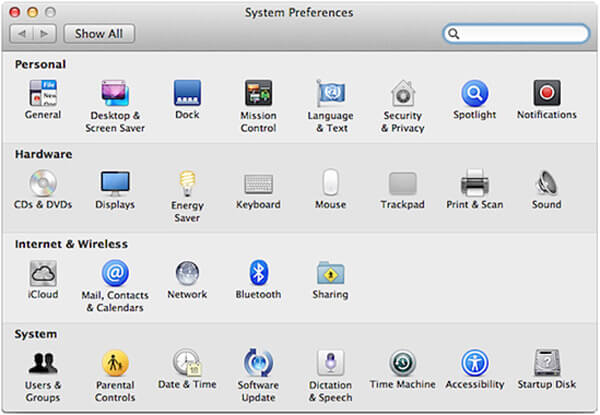
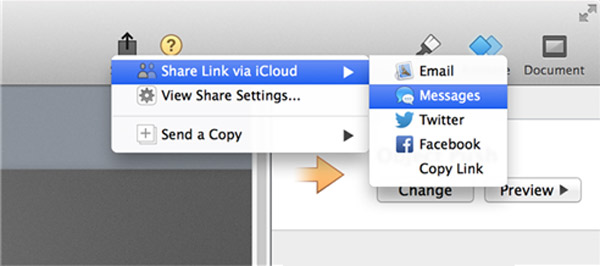
iMovie can be a good choice when you want to edit your videos on Mac. iMovie can polish your videos with professional effect with Apple designed theme, title, subtitle, images and video clips. After editing, you can upload your video to Facebook/Vimeo/CNN iReport, burn iMovie to DVD, share it to iTunes and more. From this part, you can learn how to share iMovie to iCloud on Mac.


Downloads
Aiseesoft iPhone Data Transfer
100% Secure. No Ads.
100% Secure. No Ads.
Is there a size limit for iMovie?
No. Actually there is no size limit for iMovie. The size limit for iMovie is greatly decided by the storage space on your device.
Does iMovie automatically save to iCloud?
If you have enabled iCloud photos option on your iOS device, it will be uploaded to iCloud automatically once the iMovie projects are finished.
Where are iMovie projects stored?
All the iMovie projects will be auto-saved to iMovie Library. Just go to Home (your name) > Movies > iMovie Library to check your projects.

The best iOS Transfer software to manage and transfer iOS files from iPhone/iPad/iPod to your computer or reversely without running iTunes.
100% Secure. No Ads.
100% Secure. No Ads.