Summary
Lost iPhone photos after restoring iPhone to factory settings? Recover the deleted photos from backup. Without backup? Just take iPhone Photos Recovery to help you recover photos after iPhone restore without backup.
Summary
Lost iPhone photos after restoring iPhone to factory settings? Recover the deleted photos from backup. Without backup? Just take iPhone Photos Recovery to help you recover photos after iPhone restore without backup.
When your iPhone gets problematic, many of you may restore iPhone to solve the problem. Actually, it is the very common solution.
However, restoring iPhone will make your iPhone back to factory settings, and all data and settings will be gone with wind, of course, including the cherished photos. At this point, recovering the lost photos from backup is the solution that Apple asked.
Nevertheless, what is worse, you did not make any backup to iTunes or iCloud. Then Apple will say, you have no chance to recover the photos.
In this page, we will share the method that Apple never tells you, how to recover iPhone photos after restore without backup.
Recover iPhone Photos after Restore without Backup
Yes, you can.
For explaining this question, firstly, let's see a case from Sara, who can explain the situation where you may restore your iPhone.
Basically, a couple weeks ago my iPhone 5 died.
I went out to buy a new charge and used it to connect to iTunes, only to find out that my iPhone was in Recovery Mode! The only option was to restore it. I tried to back it up, however the options were all greyed out. After the restore, my iPhone went back to the factory settings. When I check iTunes, I could not restore the backup!
But I had pictures of my younger cousins and family collected for over 4 years.
I tried to get a back up from an older computer I used, but it said that I'd never done a back up on that computer. I'm not sure of what to do now.
I just really want those photos back.
Sara's iPhone is restored to factory settings, and all data are gone. She cannot recover iPhone from backup because she does not make.
For recovering the iPhone photos, you need an iPhone photos recovery, Aiseesoft FoneLab – iPhone Data Recovery, to help you.
For using this software, you should install the latest iTunes on your computer, and do not run iTunes when you operate this software.
Step 1 Scan iPhone
Free download, install and run iPhone Data Recovery on your computer. Click "Recover from iOS Device". Connect your iPhone to computer with the USB cable. Click "Start Scan" to let this software scan your iPhone.
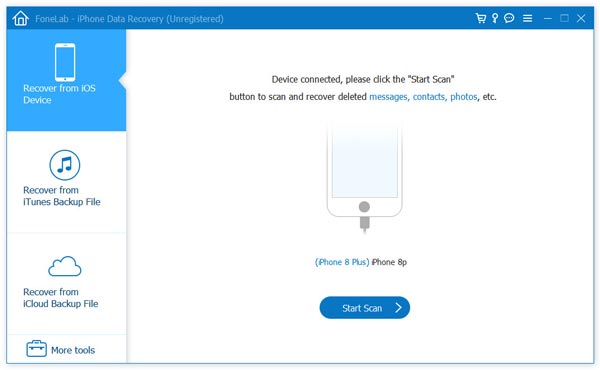
Note
1. If your iPhone runs on iOS 7 or higher, then you need to tab "Trust" on your iPhone for scanning your iPhone data successfully.
2. For iPhone 4/3GS, you need do more 3 steps before continuing this photos recovery process:
Hold your iOS device in hand and click the Start button.
Press and hold the Power and Home buttons at the same time for exact 10 seconds.
Release Power button and keep holding Home button.
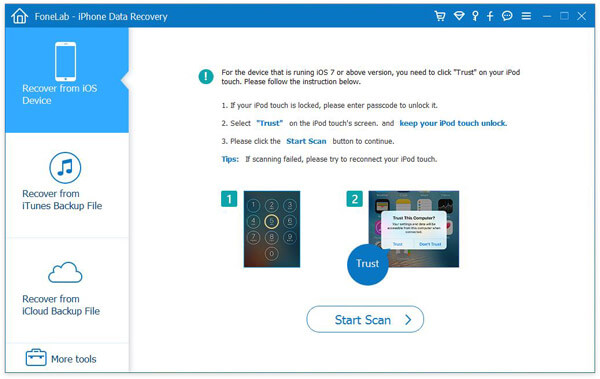
Step 2 View and recover deleted iPhone photos
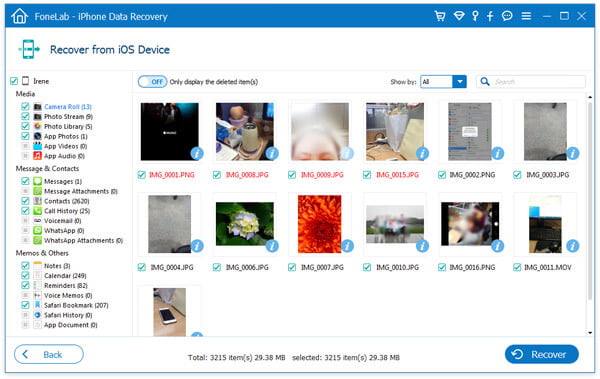
After the scan result is complete, you could find all your iPhone data type display on the left sidebar. Click "Camera Roll", "Photo Stream", "Photo Library" or "App Photos", you can see all the photos on your iPhone. The photo name marked as red color are the deleted photos on your iPhone. Checkmark the photos that you want to get back, and click "Recover" to save the lost photos to your computer.
Also, you could check this video tutorial to learn the steps to recover the lost photos after iPhone restore.

The most embarrassed thing is that you did not make backup after restoring iPhone, so here we collect the easiest way to help you develop a good habit to backup iPhone photos.
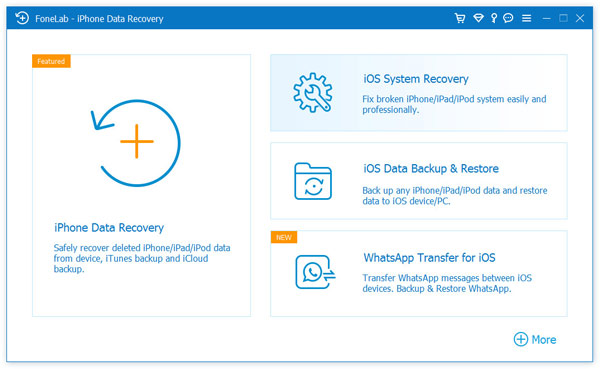
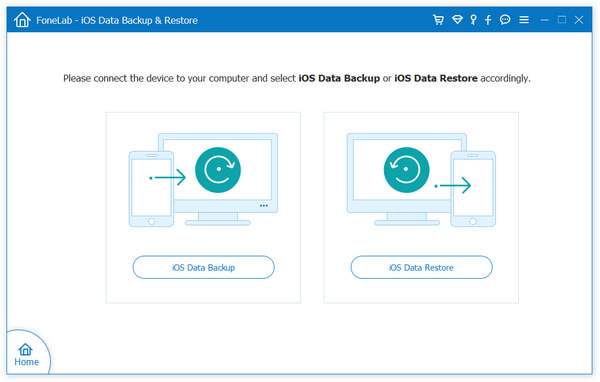
Step 1 Still run iPhone Data Recovery on your computer, connect your iPhone to computer with the USB cable. Click "iOS Data Backup & Restore".
Step 2 Select "iOS Data Backup". In the pop-up window, you are given two options, "Standard backup" and "Encrypt backup".
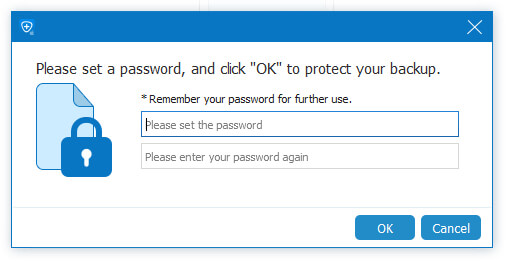
If you choose "Encrypt backup" to backup iPhone photos, you need to input the password.
If you select "Standard backup", then a window will pop up, and you need to checkmark the data type to backup. Here you need to tick "Photos" and "App Photos".
Click "Next" to choose the destination to save the iPhone photos backup, and this software will start to backup iPhone photos to your computer. You can learn the backup information clearly, including the backup size and path.
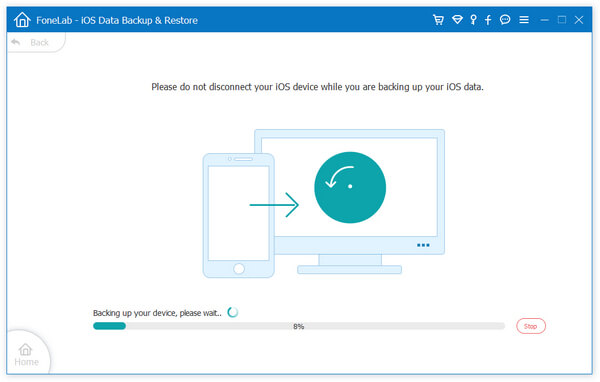
Step 3 After the backup is done, you will find the backup file stored on your computer in a library file, and you cannot open them directly.
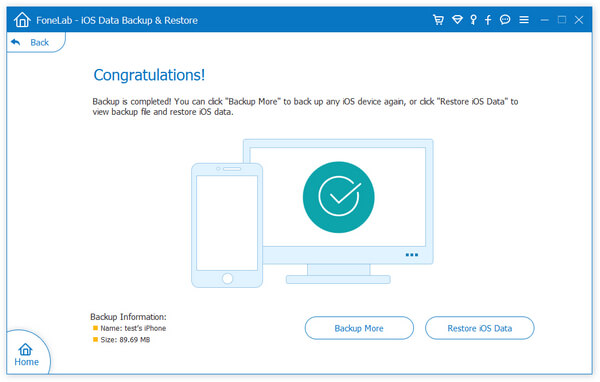
Only next time you want to restore the iPhone photos, click "Restore iOS Data" and then you can view the photos backup details and save them to your computer in its original formats.
This page shows you the way that Apple never tells you to recover iPhone photos after restore without backup. You can follow it to make your iPhone photos recovery. Surely, you should also develop a good habit to backup iPhone photos frequently.
If you have any question about this issue, just feel free to leave your comments below.