ClickMeeting is an all-featured video conferencing program which enables users to hold online courses, share training sessions, collaborate online and more. You can also use this webinar software to present your product demos for marketing. What's great about this online meeting software is that you can capture ClickMeeting sessions with its built-in recorder so you can review and playback important meetings in the future. In addition to the native recording way, we'll explore another professional way to record ClickMeeting live webinars on Windows or Mac easily.
Recording ClickMeeting is not much different from any video conference recording. You are able to screencast online ClickMeeting webinars on Windows or Mac, and save the recorded files with colleagues and friends. Let's start with Aiseesoft Screen Recorder that is an advanced screen recording program featured by high-resolution video recording, various settings, and screenshot capture function.
With this application, you can capture ClickMeeting online meetings as well as audio from system sound, microphone or both, grab webcam conferences together with video chats, take screenshots, and make real-time editing on screen during recording. What's more, it supports recording screen in any popular video format, such as MP4, MOV, AVI, FLV, etc.

Downloads
100% Secure. No Ads.
100% Secure. No Ads.
Step 1 Launch the Program
Download and install Aiseesoft Screen Recorder for your Windows PC or Mac. Then, launch it to start recording.
Step 2 Adjust the recording settings
On the main interface, Go to Menu and select the Preferences option. Here you'll find options for recording, mouse, hotkeys, output, and others.
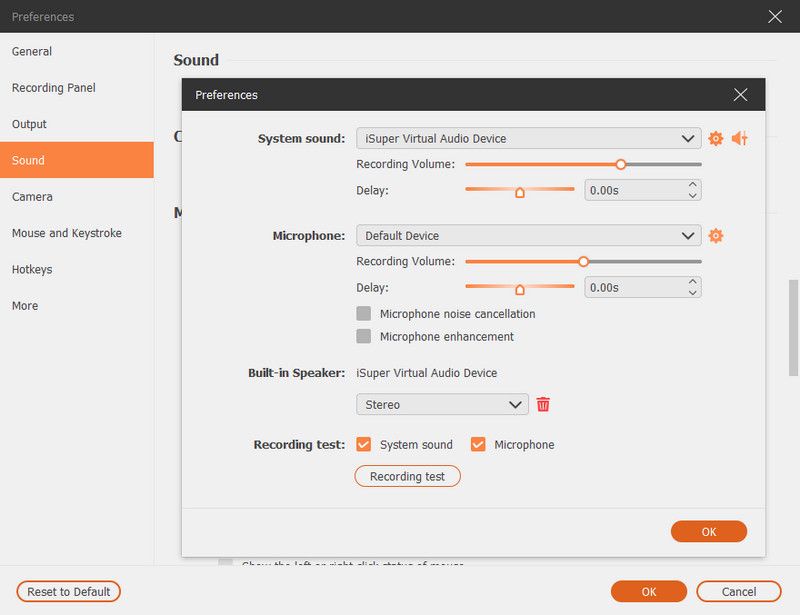
Then, return to the main control panel and choose the Video Recorder mode to proceed.
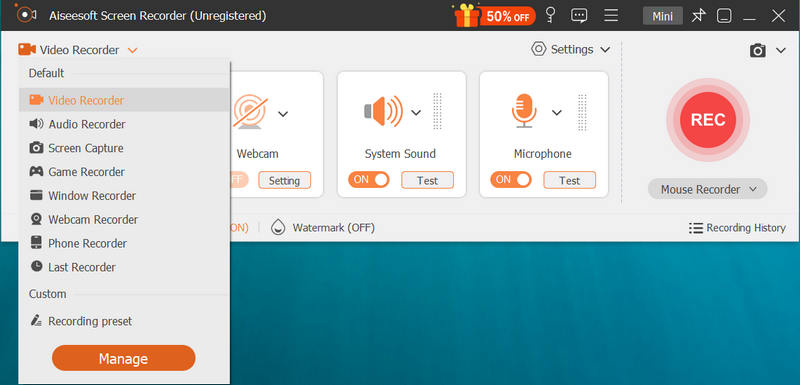
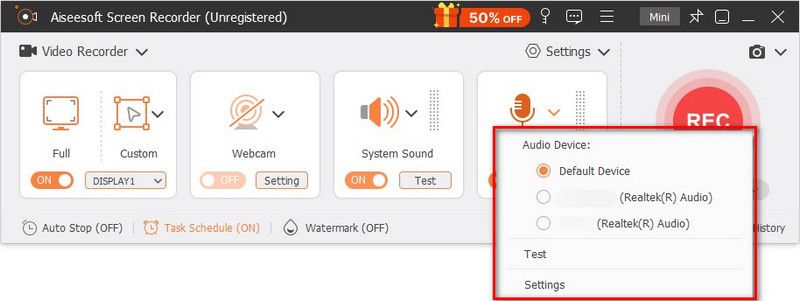
In the Video Recorder window, you can record a webinar with full screen or a customized screen like 1920×1080, 1280×720, 854×480, 1024×768, 640×480. Based on your needs, you can enable Webcam, and switch on System Sound to grab the internal sound or switch off Microphone to block external sound.
Step 3 Record the ClickMeeting webinar
When you are ready to start recording, click on the REC button. You can edit the recording video by adding text, line, arrow, etc. during the recording.

Step 4 Save the recorded file
To stop the recording, just click the Stop button and then you will enter into the preview window. To save the result, click the Save button to preserve the recording to your computer.
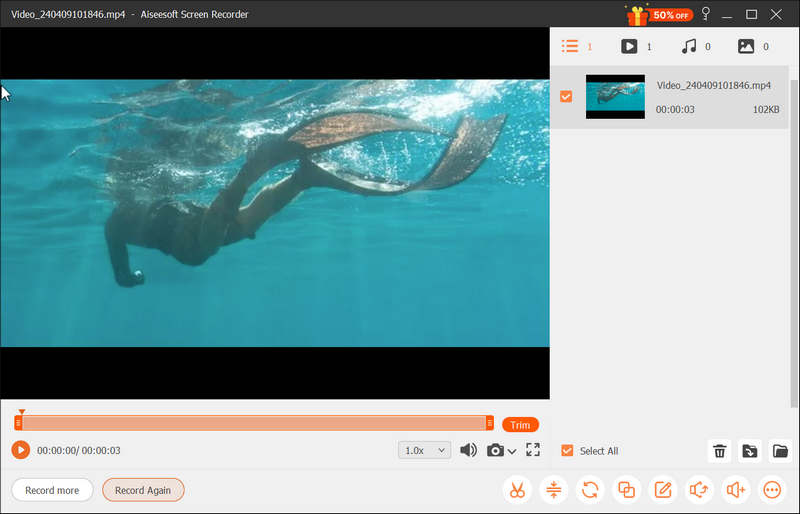
Apart from recording a video conference on ClickMeeting, you can also use it to record WebEx meeting, capture AnyMeeting events, and more.
To record a webinar on ClickMeeting, the direct way is to use its integrated recorder which is able to capture what's going on your in your webinar room. If you want to capture your voice and image, you need a microphone and a webcam. Before recording, you need to make sure that your recording space limitation.
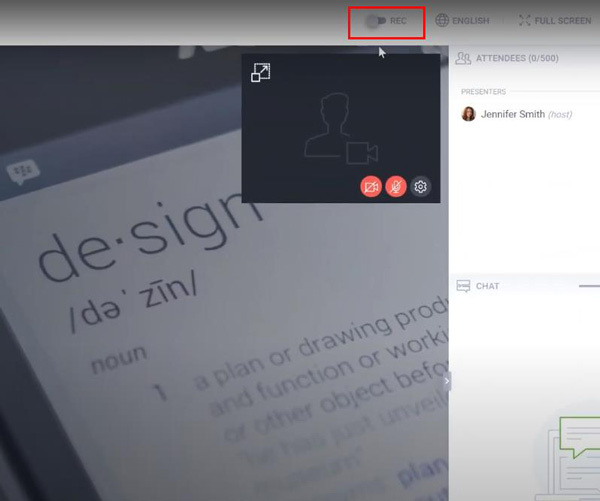
First, toggle on the REC button at the top of the webinar room window. A flashing red light indicates that the meeting is being recorded.
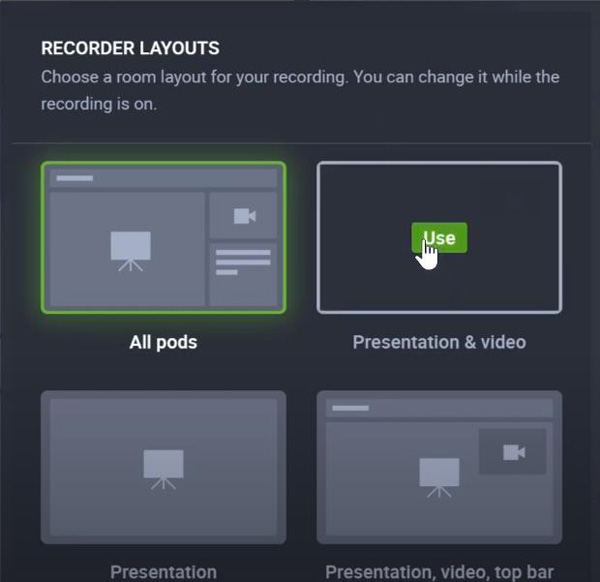
There are various recording layouts, and you are able to choose a room layout for your recordings. And you can change it while the recording is on.
You can stop the recording at any time by turning off the REC button. When you close up the recording room, your recording is automatically stored in the Storage tab in your account panel in the recordings sub-tab. Also, you can easily trim it using the tool provided in your account panel.
Note: when you change the conference mode in your event to Presenters only, your audio and video are not being recorded.
1. How do I save a recorded event on ClickMeeting?
When you stop recording, ClickMeeting will automatically save recorded content in mp4 format.
2. Where are recorded events stored?
Your recordings are stored in Storage > Recordings.
3. Can I email a recorded webinar?
Not directly. You can download it to your disk and send it to your attendees via email.
4. Can I share my recording on ClickMeeting with social media?
Yes, you are able to share your webinar recording with LinkedIn, Twitter, and Facebook using the share buttons in Publication Details. In the upper right corner of your Account Panel, find and click Storage and choose Recordings from the drop-down menu. Then, you will see the Actions button on the right side of the recording. In the drop-down menu, you will find the Publication Details.
Above are the ways to record ClickMeeting webinars. We recommend you start with the built-in recorder. If it doesn't satisfy your needs, you can try Aiseesoft Screen Recorder for getting professional results.
Record Meeting
Zoho Meeting Recorder Clickmeeting Record a Conference Record BlueJeans Meetings Record AnyMeeting Events Best Free Conference Call Service Record on Freeconferencecall Record Lync Meeting and Calls Convert G2M to MP4 Record Video for Google Classroom Record a Session in BigBlueButton Record Robin Meeting Room Record Meetings on Samepage Record a Video Call or Meeting on Lifesize Record Amazon Chime Meeting Record Teams Meeting
Aiseesoft Screen Recorder is the best screen recording software to capture any activity like online videos, webcam calls, game on Windows/Mac.
100% Secure. No Ads.
100% Secure. No Ads.