Print screen (often abbreviated Print Scrn, Prnt Scrn, Prt Scn, Prt Scr, Prt Sc or Pr Sc) is a key present on most PC keyboards. It is typically situated in the same section as the break key and scroll lock key. The print screen may share the same key as system request.
While Windows computer has its print screen key to take screenshots, Macintosh does not use a print screen key, instead of key combinations.
Moreover, Windows computer has its built-in utility, Snipping Tool, Macintosh has its built-in screen print tool, Grab. However, Mac is different from Windows, and the keyboard shortcuts and built-in tool also work different.
In this post, we will discuss three ways to print screen on MacBook, MacBook Pro, Mac Pro, MacBook Air, Mac mini, etc.
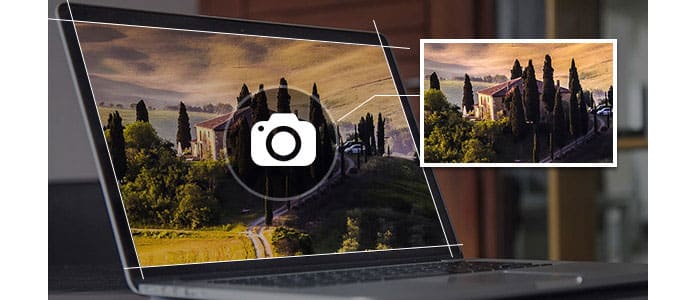
Described as above, Mac has its keyboard shortcut for printing screen like Windows. But the keyboards work different.
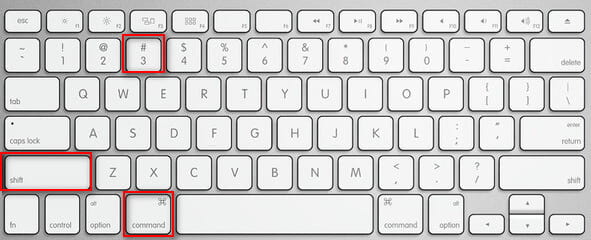
Print screen for the entire window
Command+Shift+3: take a screenshot of the entire screen, and saves it directly to the clipboard for pasting elsewhere.
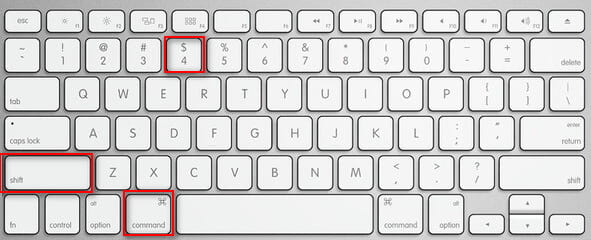
Print screen with the rectangular portion of your screen
Command+Shift+4, then select an area: takes a screenshot of the selection using the rectangular drawing box, and saves it to the clipboard for pasting elsewhere.
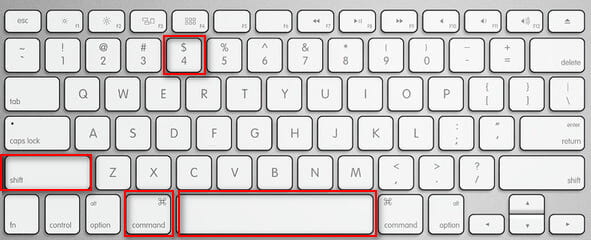
Screenshot the active screen
Command+Shift+4, then space, then click a window: takes a screenshot of a window as specified by the hovering snapshot cursor, and saves that capture to the clipboard for pasting.
Print screen of the Touch Bar on macOS Sierra 10.12.2 or macOS High Sierra
Command+Shift+6: If you have a Mac with Touch Bar and macOS Sierra 10.12.2 or macOS High Sierra, then you can use this function to print screen for the Touch Bar.
Tips
1. The screenshots on Mac will be saved as PNG file on the desktop on Mac OS X v10.6 and later. They're automatically named "Screen Shot date at time.png."
2. If you want to add the screenshots to the Clipboard instead of desktop, you need to add Control to the key combinations above. For example, you have to press the button combination of Command+Control+Shift+4, instead of Command+Shift+4 to add the screenshot to the Clipboard.
3. You can open screenshots with Preview, Safari, and other apps that can edit or view images.
Like Snipping tool on Windows computer, Mac also has its built-in screen-print tool, Grab and Preview.
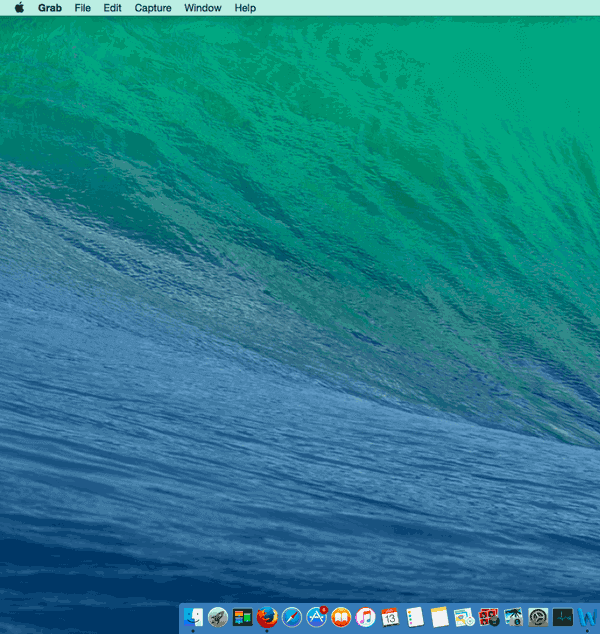
Mac OS X possesses the built-in apps, Grab and Preview, which allow you to take screenshots on Mac directly. Go to "Applications" > "Utilities" or use Spotlight search to find this app.
After you launch this screenshot tool, you cannot see any windows, but a number of menu options are available for you to print screen.
In the drop-down option of "Capture", there are "Selection", "Window", "Screen" and "Timed Screen".
Selection: Print the portion of the screen.
Windows: Choose the window you want to print, and then take the screenshot.
Screen: To capture the screen, click the outside this window.
Timed Screen: This function allows you to take a screenshot 10 seconds after pushing the Start Timer button.
When you use Grab to print screen, the screenshots will be saved as TIFF, and you can rename and save them as you like.
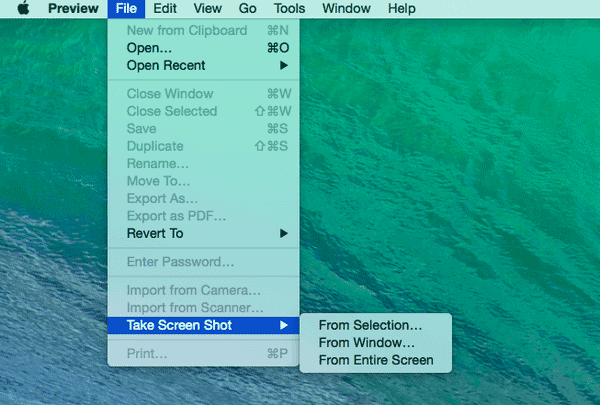
Another built-in app, Preview, also enables you to take screenshots on Mac. Like Grab, you can run Preview on your Mac by searching the applications.
In the Preview window, click "File" > "Take Screen Shot" to start to print screen. There are three options, "From Selection", "From Window" and "From Entire Screen". You can use these functions to print screen.
Still some apps, such as DVD Player, might not let you take screenshots of their windows. So at that situation, you need to turn to some third-party tools for help.
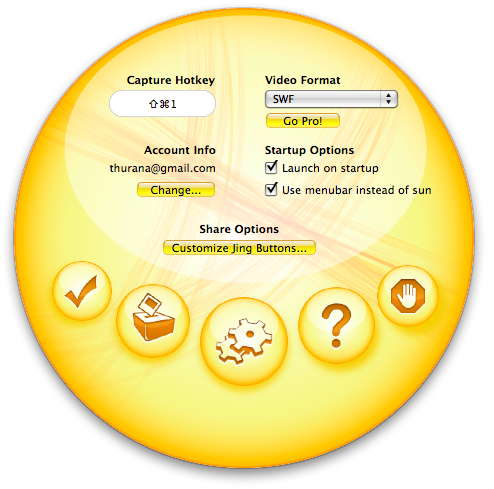
Jing for Mac is the screen capture application that allows you to select and capture parts of your screen and save that area as a static picture or even a movie. After you print screen on Mac, you can add arrows, text and box highlights to draw further attention to the area you want to highlight.
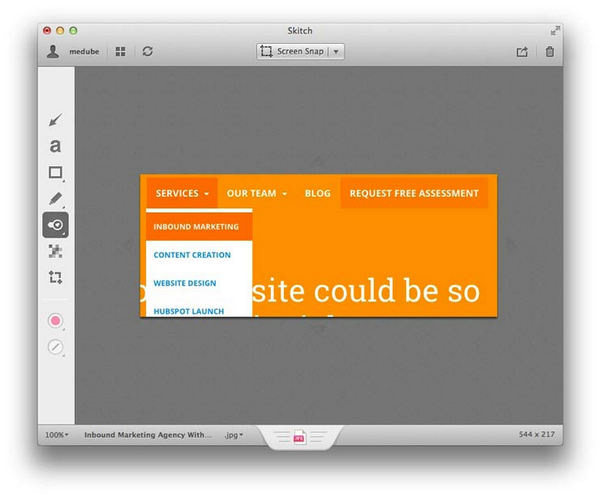
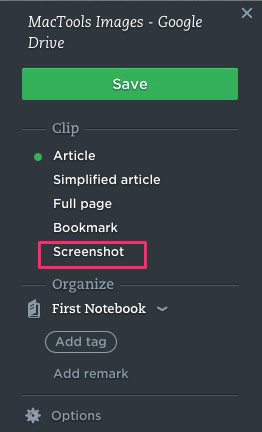
This is a well-known screen capture program that is created by Evernote. It is capable of taking multiple screenshots easily without any incompatibility issues with Mac OS X. It also has a screenshot editing and sharing functions.
Evernote's WebClipper extension (created to help you save anything you see online) has a built-in screenshot tool. Simply click the extension's button within your browser and select the Screenshot option to print screen on Mac. You can click to capture the full screen or select a specific area to capture.
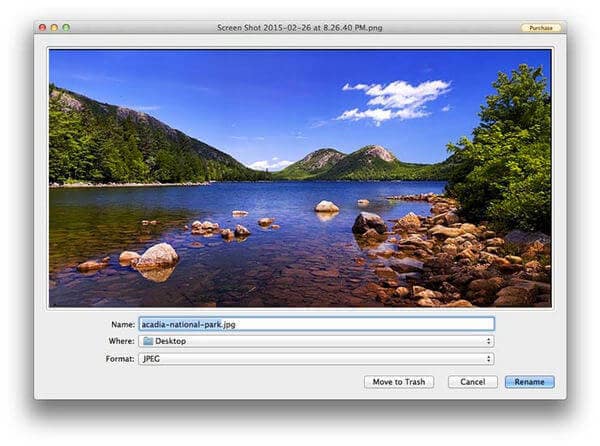
SharpShooter is a 30-day free trial program that allows you to print screen, edit the name, format, and location of each screenshot you take as they are taken. And SharpShooter will give you a preview of each screenshot right after it's captured, so you can immediately decide to save or delete it.
By now all ways you can use to print screen have been shared here. You can select the best way to help you take screenshots on Mac as you like.
Where do print screens go on Mac?
By default, the print screenshots will save to your desktop with the name, screen Shot [date] at [time].png. For the users running in macOS Mojave or later, you can change the default location from the Options menu in the Screenshot app. You can also drag the thumbnail to a folder or document.
How do I copy and paste screenshot on Mac?
Press and hold the Control key while you take the screenshot to save the screenshot to the Clipboard. After, that, you can paste the screenshot somewhere else on Mac.
How to crop a screenshot on Mac?
When you print a screen on Mc, you will see a thumbnail in the corner of your screen, click it to edit the image, including crop. Then you can save the screenshot like before on Mac.
How can I record a video on Mac?
For recording a video on Mac, you will need the screen recorder software, and Aiseesoft Screen Recorder is the software that can help you record a video on Mac.