For synchronizing audio and video, Adobe Premiere Pro offers a solution called Merge Clips, which lets users synchronize audio and video clips that have been recorded separately. Within Merge Clips in Premiere, you are able to choose a video clip and synchronize it with up to 16 channels of audio. The video or audio clips before you merging are called the component clips; they consist of the singular merged clip at the end using the Merge Clips function.
Clips are able to be merged together in group, whether you want to merge them in the either the Project panel or the Timeline. The command of Merge Clips can be invoked via a contextual menu or from the Clip menu. You'd better select more than one video or audio clip in order to activate the command.
In this part, we will show you how to synchronize audio and video in Adobe Premiere.
To merge clips in the Project panel, follow the steps below:
Select a video clip to which you want to merge audio clips. But you can have only one video clip in any merged clip.
Choose the audio clips that you want to merge with the video clip with Shift or Control (Command for Mac OS) key.
You can click "Clip" > "Merge Clips", or just right-click (Control-click for Mac OS), and choose "Merge Clips" option from the shortcut menu.
Do the following to merege clips in the Timeline panel:
Select the clips, drag the component clips into the Project panel or choose "Clip" > "Merge Clips".
Click "OK". Your merged clip should be exist in the Project panel.
Synchronizing clips aligns multiple clips in the Timeline panel. After synchronizing the clips, you can create a merged clip. To synchronize clips in the Timeline panel, first edit the clips into the Timeline panel, and then do one of the following:
Align the clips manually by dragging them into place until they are synchronized.
Select the clips you wish to synchronize. Choose "Clip" > "Synchronize".
Video Converter Ultimate is exactly what you need. As a great alternative to Adobe Premiere, Video Converter Ultimate is able to sync audio and video. This program has a new feature that you are able to add audio track or multi-audio tracks to a video without any limitation.
Step 1Import video file(s)
Click "Add Files" button and select to load the video files or the whole video folder to which you want to add the audio.
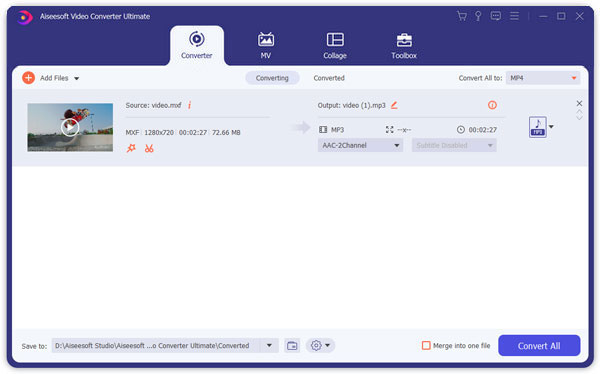
Step 2Add audio to video
Click "Add Audio" icon to add the audio track to your video.
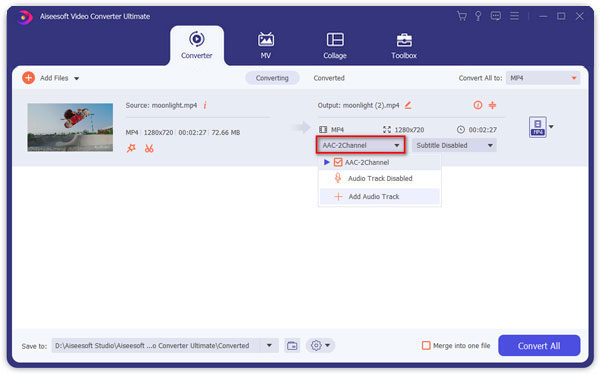
Step 3Preview the video
That's it. You've managed to add audio to video. You can preview the video and listen to the effect. If you are satisfied, you can finally choose the destination folder and then click the "Convert" button to output the video file with the audio added.
Step 1Launch Video Converter Ultimate on your PC/Mac.
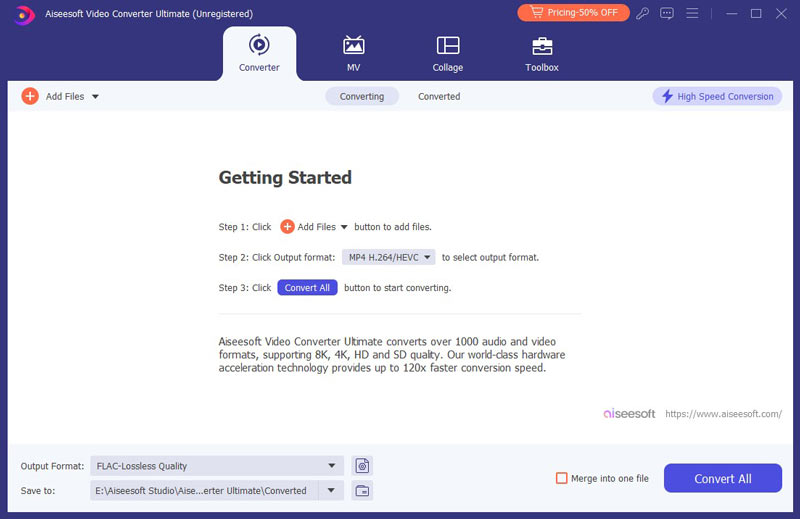
Step 2Import audio file(s)
Click "Add Files" button on the menu bar and add video or audio to this program.
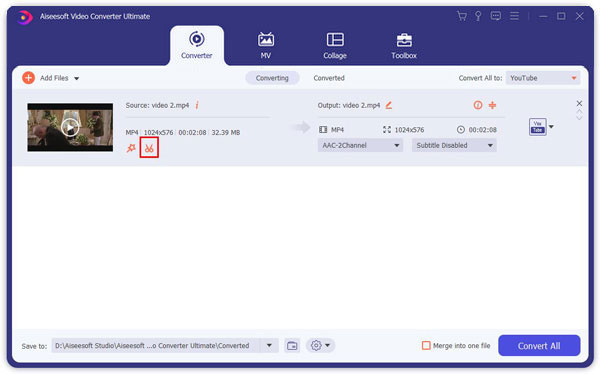
Step 3Clip video/audio file into suitable length
Click "Clip" button to enter the "Clip" window. Drag the left and right process bar to personalize the starting and ending time. You can also pre-listening the audio to cut the audio better. Click "OK" to finish the audio cutting.
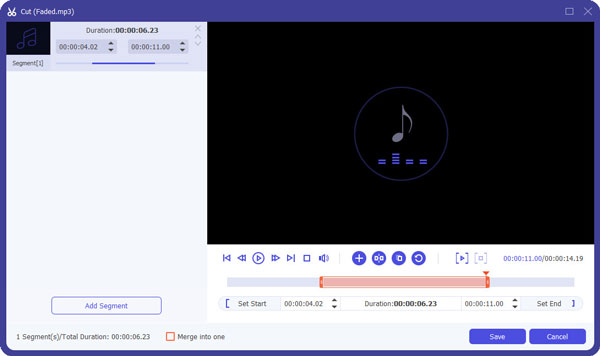
Step 4Convert audio to suitable format
Click "Convert All to" drop-down option to choose the the output audio format. Then click "Convert All" button to save save the audio clip. The software can be the best MP3 Cutter.
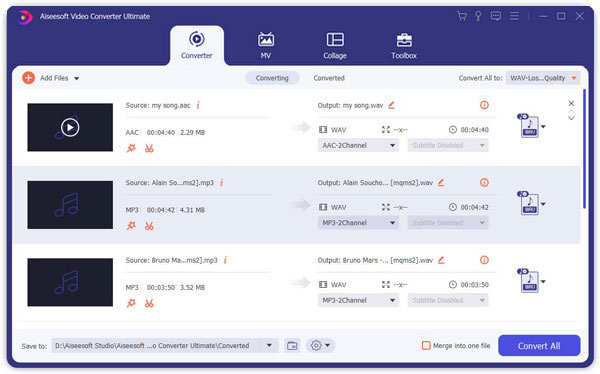
That's it, This Audio Splitter can finish everything for you.
In this article, we mainly show you how to use Adobe Premiere to synchronize audio and video clips with Merge Clip function. Also, we introduce you with Premiere alternative, Video Converter Ultimate. Whatever, wish this article can help you.

