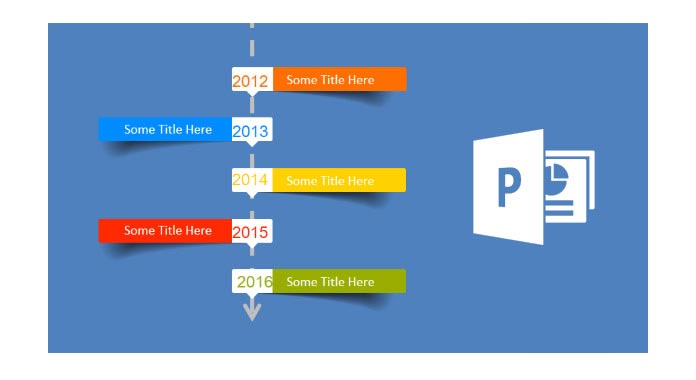
Creating a timeline in PowerPoint helps you format and style the illustration, and makes your project clear and meaningful to your audience. PowerPoint presentation's SmartArt tool allows you to make a timeline by listing concise timeline details and applying visual interest.
PowerPoint presentation has been widely used for business and academic purpose. You can make PowerPoint presentations with pictures, music, web content, text and more, while do you know how to make a timeline in PowerPoint? As you have already known, timeline in PowerPoint presentation plays a really good part. How to make a timeline in powerpoint? You can follow the simple guide to create a timeline in PowerPoint.

Here we take making a timeline in PowerPoint 2007 as an example. If you want to make a timeline in PowerPoint 2013/2010/2016, you can still take it as your reference.
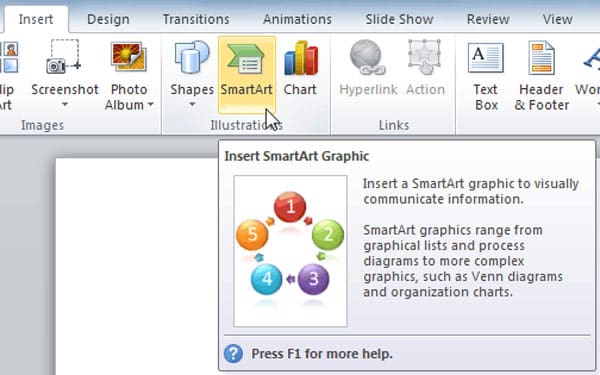
1 Open PowerPoint software and open a new presentation. Click the "Insert" tab on the ribbon, and then click "SmartArt" to open the SmartArt Graphic box.

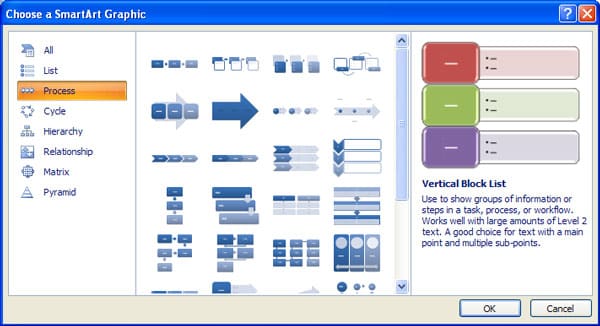
2 Click "Process" on the left column, and then select and double-click a timeline layout to copy this template to your slide. The SmartArt Tools ribbon will display the "Design" and "Format tabs". There are two timeline SmartArt graphics for you to choose from, "Basic timeline" and "Circle Accent Timeline".

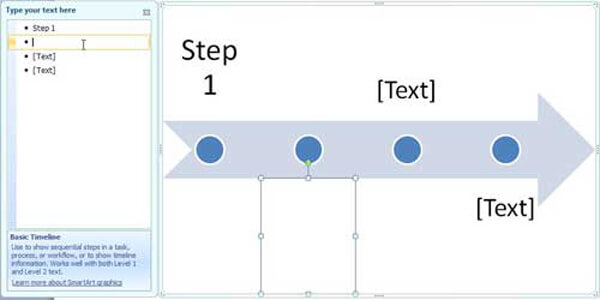
3 Click "[Text]" to enter your data or paste text in the SmartArt Graphic.

4 Click the "File" > "Save" > "Save As" to save the timeline in PowerPoint presentation.
For more details, you can check the "Create a timeline in PowerPoint" on Office site.
In this article, we mainly talk about how to make a timeline in PowerPoint. If you are just looking for the method to create a timeline in PowerPoint, you can follow the guide to meet your need.
If you are making powerpoint, you also want to search: How to add music to powerpoint, or convert powerpoint to video for sharing.

