Some people search for the way to convert RAW to JPEG on social media and forums. It is well-known that RAW and JPEG are both popular image formats. RAW is an uncompressed image format produced by digital cameras. And JPEG is a compressed picture format used to share large photographic. In another word, the purposes of RAW vs JPEG are totally different. A RAW image is more suitable to edit offline; while if you want to share a picture with your friends or on social media, JPEG is better choice. Anyway, we are going to show you how to convert RAW to JPEG without quality loss as far as possible.
Convert RAW to JPEG
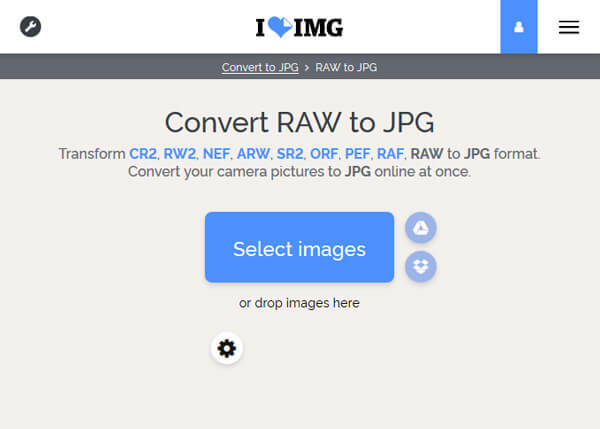
Online RAW to JPEG converter is always popular way to convert RAW to JPEG images and share the results online. If you do not have many RAW photos, it is a good option. And we use I Love IMG as the example to show you the workflow.
Step 1 Copy and paste www.iloveimg.com/convert-to-jpg/raw-to-jpg in the address bar of any browser to open the online RAW to JPEG converter.
Step 2 Drag and drop your RAW pictures into the page to upload them. It also supports importing RAW from Google Drive and Dropbox.
Step 3 Click on "Convert to JPG" button to start saving RAW to JPEG. Finally, it offers several options to get the results, download to computer, save to cloud account, or share JPEG via URL directly.
Note: We cannot guarantee that online RAW to JPEG converters are able to protect your privacy without leaking your photos.
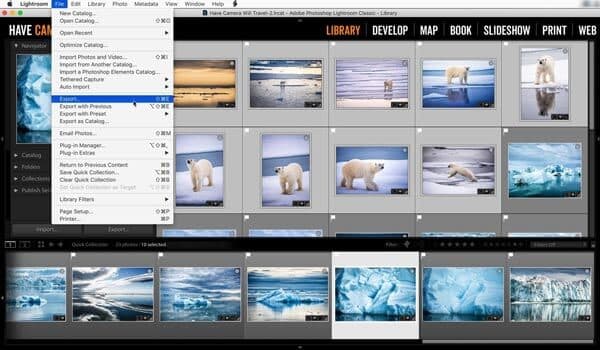
Considering that online JPEG converters have unavoidable shortcomings, like risk of data leakage, a good internet connection and poor output quality, you may need a professional way to convert RAW to JPEG on Mac offline, like Lightroom.
Step 1 Launch your Lightroom program from the Applications folder, if you have installed it on your Mac. Go to the Library mode and select all RAW images you want to save as JPEG.
Step 2 Go to "File" > "Export" to open the preset dialog, and select "Burn Full-Sized JPEGs" on left sidebar. Make sure to select "Hard Drive" from the "Export To" dropdown menu at top of the dialog.
Step 3 Next, reset various parameters on right panel based on your requirements, like quality. Or leave all parameters with default value. Finally, click the "Export" button at bottom right corner to start converting RAW to JPEG.
Now, you can find the JPG images produced from RAW in the Export Location you set.
Unlike Lightroom, new versions of Photoshop integrate an image processor, which is able to batch convert RAW to JPEG in high quality.
Step 1 First of all, create a new folder and put all RAW photos you'd like to converter into the folder. Then open your Photoshop, and navigate to "File" > "Scripts" > "Image Processor" to activate the built-in image processor window.
Step 2 Press "Select Folder" in the "Select the images to process" section and choose the new folder. Then set up a proper folder to save the results in "Select location to save processed images" area.
Step 3 Make sure to tick the box next to "Save as JPEG" and customize other parameters, like quality, dimension and more. In the end, click the "Run" button at top right side to trigger converting RAW to JPEG.

In this part, you can learn 3 best RAW to JPEG converter apps for iPhone and Android phone.
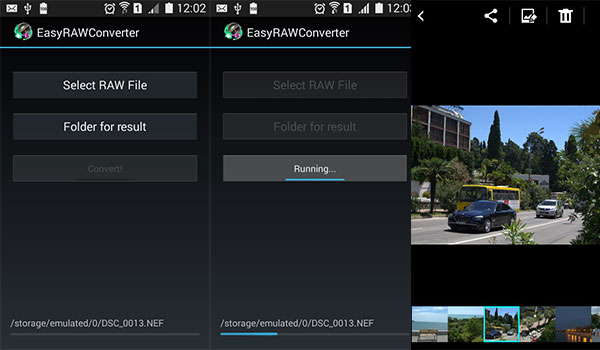
Platform: Android
Pros:
1. Select a RAW file from your memory and SD card.
2. Convert RAW to JPEG in a single tap.
3. Preview the result with built-in image viewer.
4. Lightweight and take up little space.
5. Free of charge.
Cons
1. This RAW to JPEG converter cannot save JPEG results to SD card.
2. It handles one photo at one time.
Platform: iOS & Android
Pros:
1. Convert RAW to JPEG images after editing.
2. Offer extensive RAW editing tools.
3. More stable than other image converter apps.
4. Available to both iPhone and Android phone.
5. Produce JPG pictures without quality loss.
Cons
1. You have to view ads to exchange free features.
2. This RAW converter app does not support batch conversion.
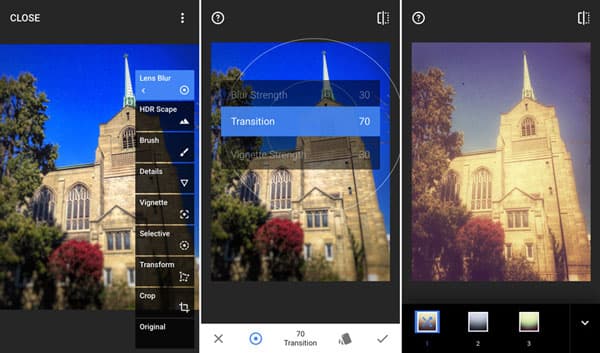
Platform: iOS
Pros:
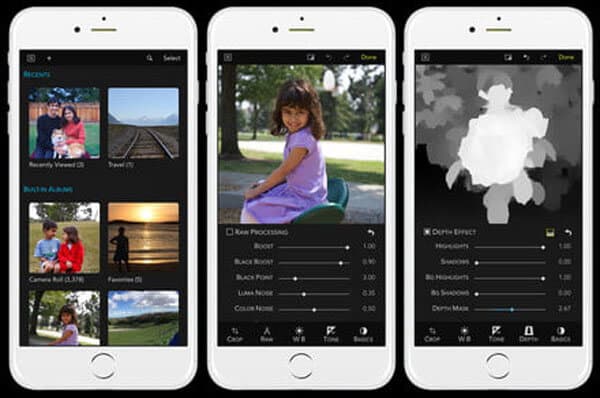
1. Edit RAW images before converting RAW to JPEG.
2. Adjust various parameters of the RAW to create special effect.
3. Take RAW pictures on iPhone and iPad.
4. Decode RAW images without damaging quality.
5. Free to download and support purchase-in-app.
Cons
1. It is not available to Android
2. Beginners may feel frustrated because of complicated settings.
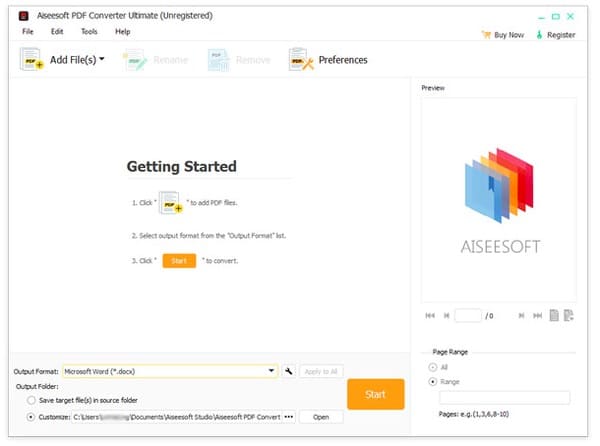
Aiseesoft PDF Converter Ultimate is the best way to produce JPEG from PDF files. Its main features include:
1. Convert PDF to JPG and other commonly used image formats.
2. Save PDF files to editable document, like Text, Word, HTML and more.
3. Handle multiple PDF files at one time.
4. Generate images from a part or certain page of a PDF.
5. Lossless convert PDF files using advanced technology.
6. Offer a wide array of changeable parameters to create personalized results.
7. Available to Windows 10/8/8.1/7/XP and Mac OS.
In short, if you need a way to convert PDFs to images or documents without losing data, PDF Converter Ultimate is the best option.
In this tutorial, we have shared how to convert RAW to JPEG on Windows, Mac, Android and iPhone. First of all, we have compared RAW vs. JPEG and tell you to choose which one under different situations. When people share their pictures, JPG is apparently a good choice, though RAW has better quality. If you only want to convert a RAW or several ones, online RAW converter app is a simple way to complete the task without install software on your machine. On the other hand, Lightroom and Photoshop are able to change RAW to JPG in batch offline. And if you want to produce JPG from RAW on mobile phone, there are at least three options.