Many film directors would love to launch a movie trailer before the real movie, since this short promotional video normally leaks the most fantastic pictures of the movie, which can really get people's attention.

It is not always easy create a great movie trailer, but if you are using Apple, you are in luck. iMovie comes with this feature of movie trailers, which includes a number of trailer templates you can use to create Hollywood-style movie trailers with ease. In the following article, I'll show you how to use iMovie trailers to create cool movie trailers on Mac or iOS devices.
It is highly recommended to create iMovie trailers using iMovie for Mac, you'll get a very smooth movie trailer making experience. The following steps show you how to create movie trailers with iMovie on Mac.
Notes: iMovie has different versions like iMovie 10, iMovie 11, and iMovie 12. It may be slightly different to create movie trailers using iMovie 10/11/12, but mostly, the rules are common.
Step 1 Create a new trailer project
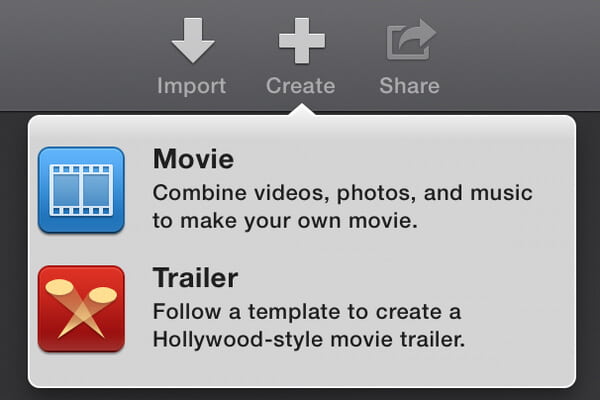
Open iMovie, go to "File" > "New Trailer", or click the "Projects" button in the toolbar, and click "Create New" > "Trailer" in the projects view.
Step 2 Choose an iMovie trailer template
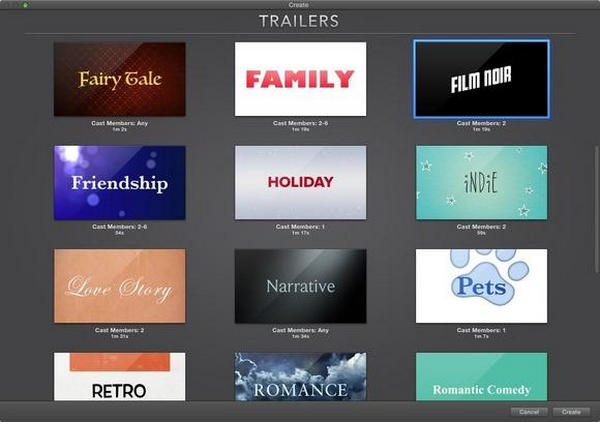
A choice of iMovie trailer templates that are available will be shown on the screen. The duration of the trailer and the number of cast members appear below the template. You can move the pointer over the template and click play button to preview the movie trailer templates. Find a template that matches the number of people in your footage, and hit "Create".
Step 3 Complete movie trailer outline in iMovie
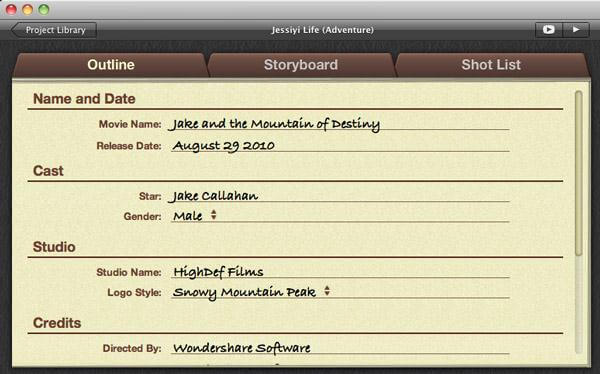
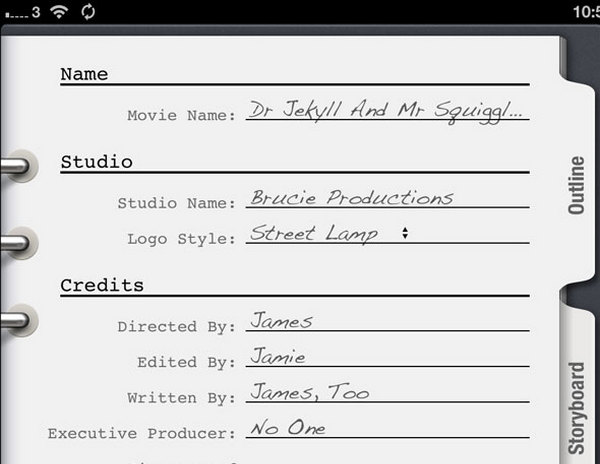
After you create an iMovie trailer, you can add trailer credits and other information on the iMovie outline tab. In the Outline pane, click the placeholder text and type new text. The placeholder text varies by template, the possible categories include name and data, cast, gender, studio, credits.
Note: You can't leave any fields blank because iMovie incorporates all fields into the trailer.
Step 4 Add video to iMovie trailer Storyboard/Shot List
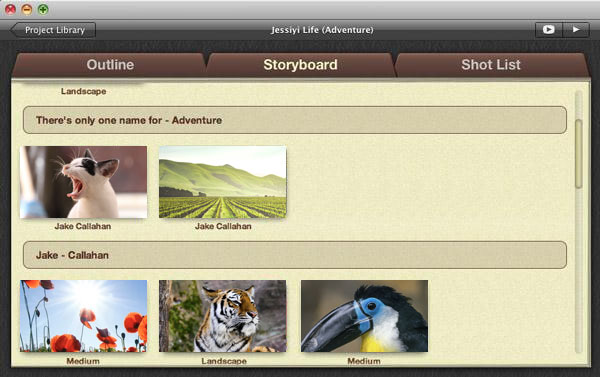
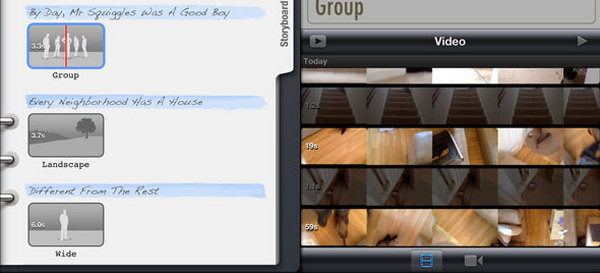
You can add video clips to your trailer in the Storyboard and Shot List panes. Click the Storyboard to add your video and text. Then, go to Shot List tab, drag the video clips you want to be included in your movie trailer to the placeholder. iMovie will automatically set your clips to the correct size to fit in the trailer.
Step 5 Preview and share movie trailer
After all is set, you are allowed to click one of the Play buttons or preview iMovie trailers (Full screen preview is available). You can also share you movie trailer to QuickTime directly.
You can check the video tutorial down below:


Apart from iMovie for Mac, you can also create movie trailer using iMovie for iPad/iPhone. Check the tutorials below to create a movie trailer project using iMovie for iPad/iPhone.
Step 1 From the home screen of iMovie, tap the plus icon at the bottom of the screen, then tap the "New Trailer" button.
Step 2 You'll see a selection of nine themes at the bottom of the screen. Swipe through them then tap the "Play" button in the screen above to preview the theme.

Step 3 Once you choose the iMovie trailer theme, iMovie will display the trailer outline page. Edit file title, studio and credit.
Step 4 Add video in the iMovie storyboard pane, edit and clip videos as you like. You can preview how the movie trailer looks so far with effects.
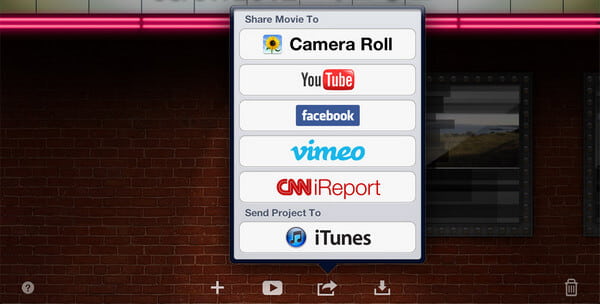
Step 5 After all is set, you save your masterpiece to the camera roll, or share it to Facebook and other social platforms directly.
In this article, we have mainly showed you how to create iMovie trailers on Mac, iPad or iPhone. If you don't feel like iMovie as the ideal trailer maker, you can also check more trailer maker options here. Still have more questions about iMovie trailers? Feel free to leave your comments down below.