iMovie has advanced editing tools that enable you to precisely customize the clip and correct problems with the recorded video. One of the most common problems people complain about in iMovie is the audio editing. As you develop your movie project in iMovie, you'll find that you need more control over the clips in the movie timeline, and the audio in iMovie is not synced with the pictures sometimes, which can be really annoying.
In this article, we will give you a tutorial to teach you how to sync and trim audio in iMovie, therefore making the best out of a video in iMovie.

Trim Audio in iMovie
Step 1 Import audio file to iMovie
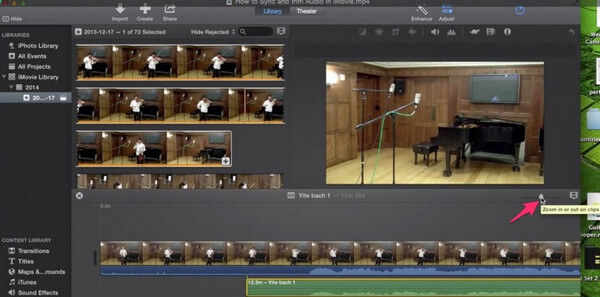
Load the video file in iMovie. Click on the zoom tool and drag it to the left until you can see everything. Wait a couple seconds for the waves to load then place it approximately in line with the camera audio.
To import the audio into iMovie, simply drag it over here.

Step 2 Trim the movie audio in iMovie
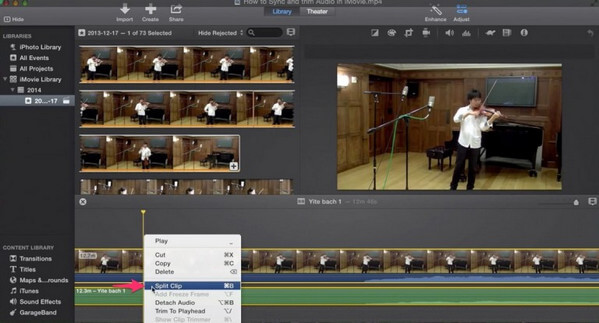
To trim our movie, select where you want to trim from. Hold SHIFT and click the audio then control/click and choose split clip.

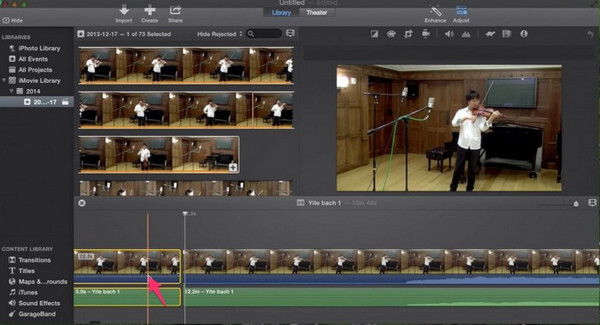
Now just select what you want to delete, and press delete.

Go to the end of the clip and do the same thing. Select both the movie and the audio, control/click and split clip. The next step is to lower the volume of the camera audio. Just grab those arrows and drag it all the way down to 0%. You can also adjust the volume of your imported audio up or down.
Double check everything is in order to play the clip and make sure the picture is synced with the audio.
Step 3 Export the video
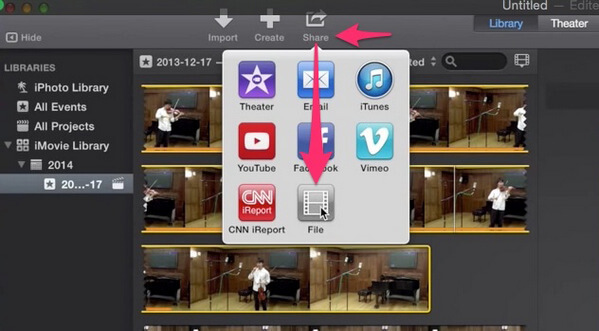
After you've done audio trimming and everything else in iMovie, you can export the video file. Go to "share" and click "make a file".

Here it gives you options: 1080p, 720p, 480p. Basically, 1080p is going to be the highest quality and 720 and 480 is going to be for DVDs
Apart from iMovie, there is also better way for you to trim audio.
Here we recommend you a professional video sound editor, Mac Video Converter Ultimate, which allows you to not only trim audio, but also adjust audio settings, apply audio effects and more. Free download this software and learn how to trim audio with this iMovie alternative.
Aiseesoft Mac Video Converter Ultimate

How to fade audio in iMovie?
Open iMovie and select the audio, then you will see the Inspector window. Click the Audio tab, and you can see the various audio settings, where you should choose Manual option then iMovie will set the fade effects for the audio file automatically. Check here to get the detailed steps to fade audio in iMovie.
How to adjust audio volume in iMovie?
After you add the audio into iMovie project, just tap the audio clip in the timeline, and then click Volume button at the bottom of the window, adjust the slider to increase or decrease the volume.
How to add audio to iMovie?
Open your iMovie project, choose Window, and click Music and Sound Effects, and then browse the music file on your drive, and then click it to add the audio to iMovie. You can also add the music from iTunes, GarageBand and more into iMovie directly. The details of adding audio to iMovie are here.
How to trim audio in iMovie on iPhone?
Open iMovie on iPhone, find and open the project to hit the Edit button. Tap the video trimmer in the timeline, and hit Detach at the bottom, and you will see the audio track as a blue bar. Tap and drag the begging of the audio track, swipe left on the audio track and tap and drag the end of the audio track. Then your audio files will be done to cut.
In this article, we have mainly showed you how to sync and trim audio in iMovie. Still have more questions? Feel free to leave your comments down below.